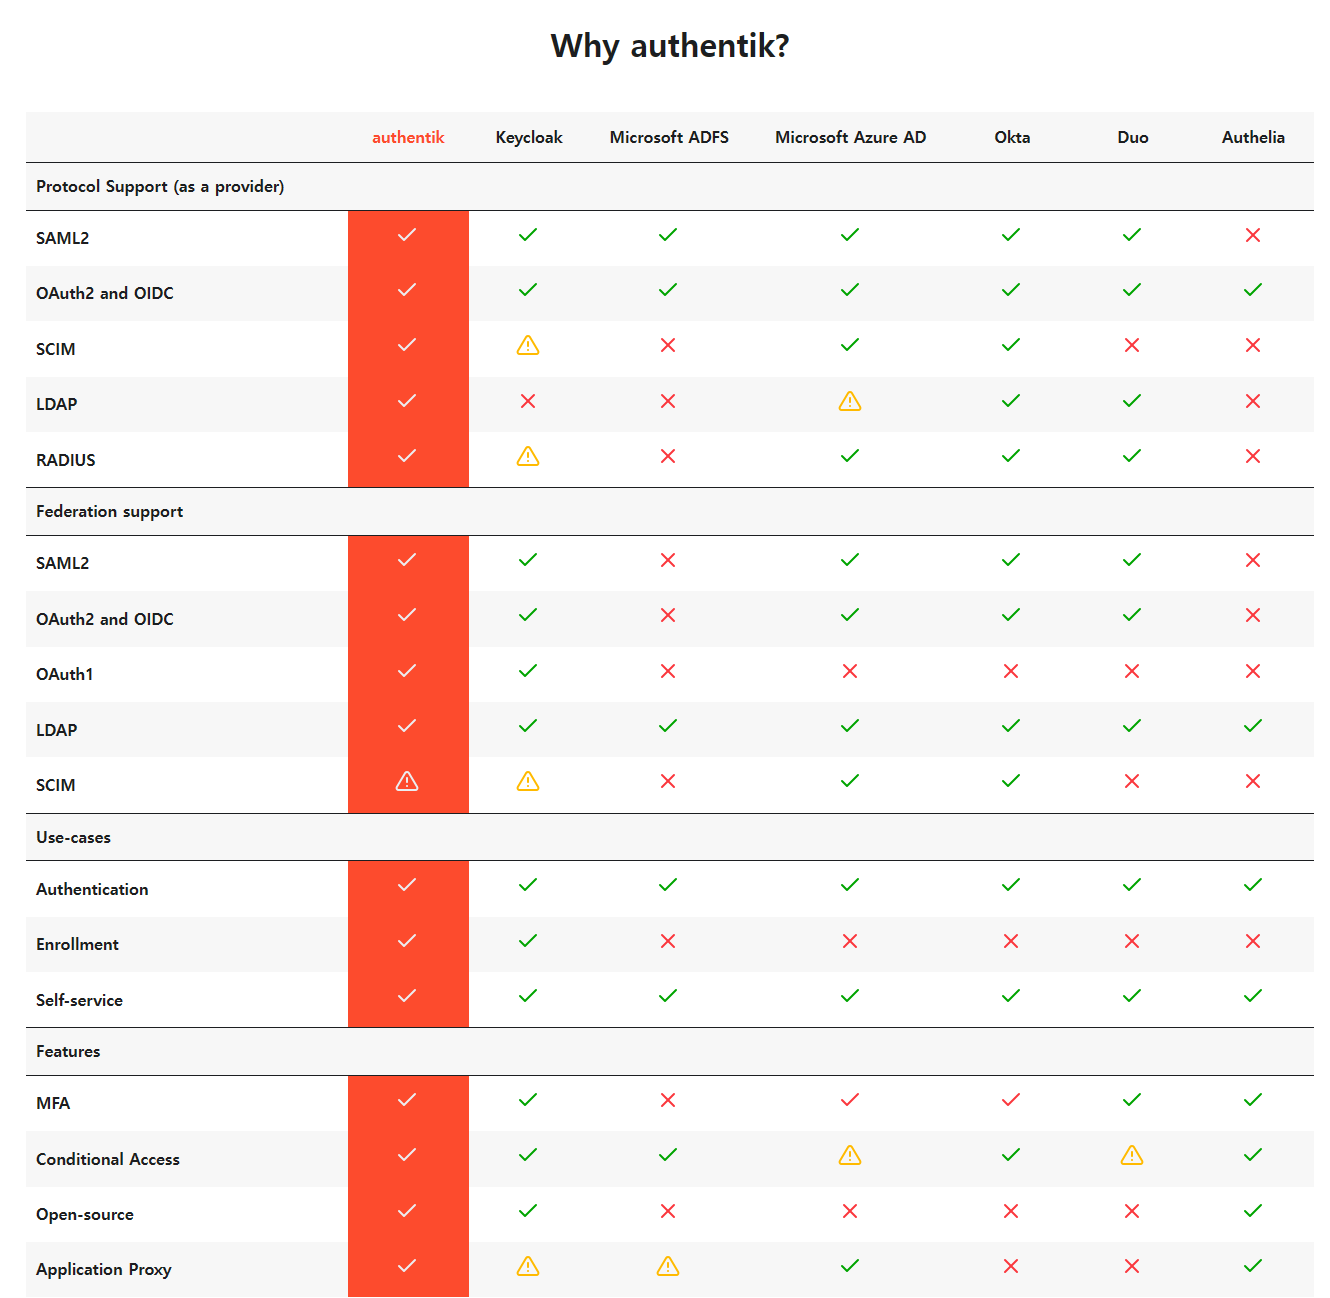
authentik이란 무엇입니까?
authentik은 유연성과 다양성에 중점을 둔 오픈 소스 ID 공급자입니다. 기존 환경에서 authentik을 사용하여 새로운 프로토콜에 대한 지원을 추가하고, 애플리케이션에서 가입 / 복구 등을 구현하여 처리 할 필요가 없도록하는 등 많은 작업을 수행 할 수 있습니다.
Docker Compose installation | authentik (goauthentik.io)
Docker Compose installation | authentik
This installation method is for test-setups and small-scale production setups.
goauthentik.io
[Docker] 도커의 모든 것, 도커 추천 이미지!!! (tistory.com)
[Docker] 도커의 모든 것, 도커 추천 이미지!!!
필자는 이때까지 docker로 구축한 모든 목록을 이 블로그에 담았다. 앞으로도 이 페이지는 필자가 도커를 구축할 때마다 업데이트하려고 하니, 즐겨찾기 해두면 나쁘지 않을 거 같다. 유용하게 사
betwe.tistory.com
docker-compose.yml 파일 다운로
wget https://goauthentik.io/docker-compose.yml
version: "3.7"

services:
  postgresql:
    image: docker.io/library/postgres:12-alpine
    restart: unless-stopped
    healthcheck:
      test: ["CMD-SHELL", "pg_isready -d $${POSTGRES_DB} -U $${POSTGRES_USER}"]
      start_period: 20s
      interval: 30s
      retries: 5
      timeout: 5s
    volumes:
      - database:/var/lib/postgresql/data
    environment:
      POSTGRES_PASSWORD: ${PG_PASS:?database password required}
      POSTGRES_USER: ${PG_USER:-authentik}
      POSTGRES_DB: ${PG_DB:-authentik}
    env_file:
      - .env
  redis:
    image: docker.io/library/redis:alpine
    command: --save 60 1 --loglevel warning
    restart: unless-stopped
    healthcheck:
      test: ["CMD-SHELL", "redis-cli ping | grep PONG"]
      start_period: 20s
      interval: 30s
      retries: 5
      timeout: 3s
    volumes:
      - redis:/data
  server:
    image: ${AUTHENTIK_IMAGE:-ghcr.io/goauthentik/server}:${AUTHENTIK_TAG:-2023.6.1}
    restart: unless-stopped
    command: server
    environment:
      AUTHENTIK_REDIS__HOST: redis
      AUTHENTIK_POSTGRESQL__HOST: postgresql
      AUTHENTIK_POSTGRESQL__USER: ${PG_USER:-authentik}
      AUTHENTIK_POSTGRESQL__NAME: ${PG_DB:-authentik}
      AUTHENTIK_POSTGRESQL__PASSWORD: ${PG_PASS}
    volumes:
      - ./media:/media
      - ./custom-templates:/templates
    env_file:
      - .env
    ports:
      - "${COMPOSE_PORT_HTTP:-9000}:9000"
      - "${COMPOSE_PORT_HTTPS:-9443}:9443"
    depends_on:
      - postgresql
      - redis
  worker:
    image: ${AUTHENTIK_IMAGE:-ghcr.io/goauthentik/server}:${AUTHENTIK_TAG:-2023.6.1}
    restart: unless-stopped
    command: worker
    environment:
      AUTHENTIK_REDIS__HOST: redis
      AUTHENTIK_POSTGRESQL__HOST: postgresql
      AUTHENTIK_POSTGRESQL__USER: ${PG_USER:-authentik}
      AUTHENTIK_POSTGRESQL__NAME: ${PG_DB:-authentik}
      AUTHENTIK_POSTGRESQL__PASSWORD: ${PG_PASS}
    # `user: root` and the docker socket volume are optional.
    # See more for the docker socket integration here:
    # https://goauthentik.io/docs/outposts/integrations/docker
    # Removing `user: root` also prevents the worker from fixing the permissions
    # on the mounted folders, so when removing this make sure the folders have the correct UID/GID
    # (1000:1000 by default)
    user: root
    volumes:
      - /var/run/docker.sock:/var/run/docker.sock
      - ./media:/media
      - ./certs:/certs
      - ./custom-templates:/templates
    env_file:
      - .env
    depends_on:
      - postgresql
      - redis

volumes:
  database:
    driver: local
  redis:
    driver: local
암호화 키를 .env 파일 생성
# 키를 생성해줄 패키지를 설처
sudo apt-get install -y pwgen

# PG_PASS 와 AUTHENTIK_SECRET_KEY 생성하여 .env에 저장
echo "PG_PASS=$(pwgen -s 40 1)" >> .env
echo "AUTHENTIK_SECRET_KEY=$(pwgen -s 50 1)" >> .env
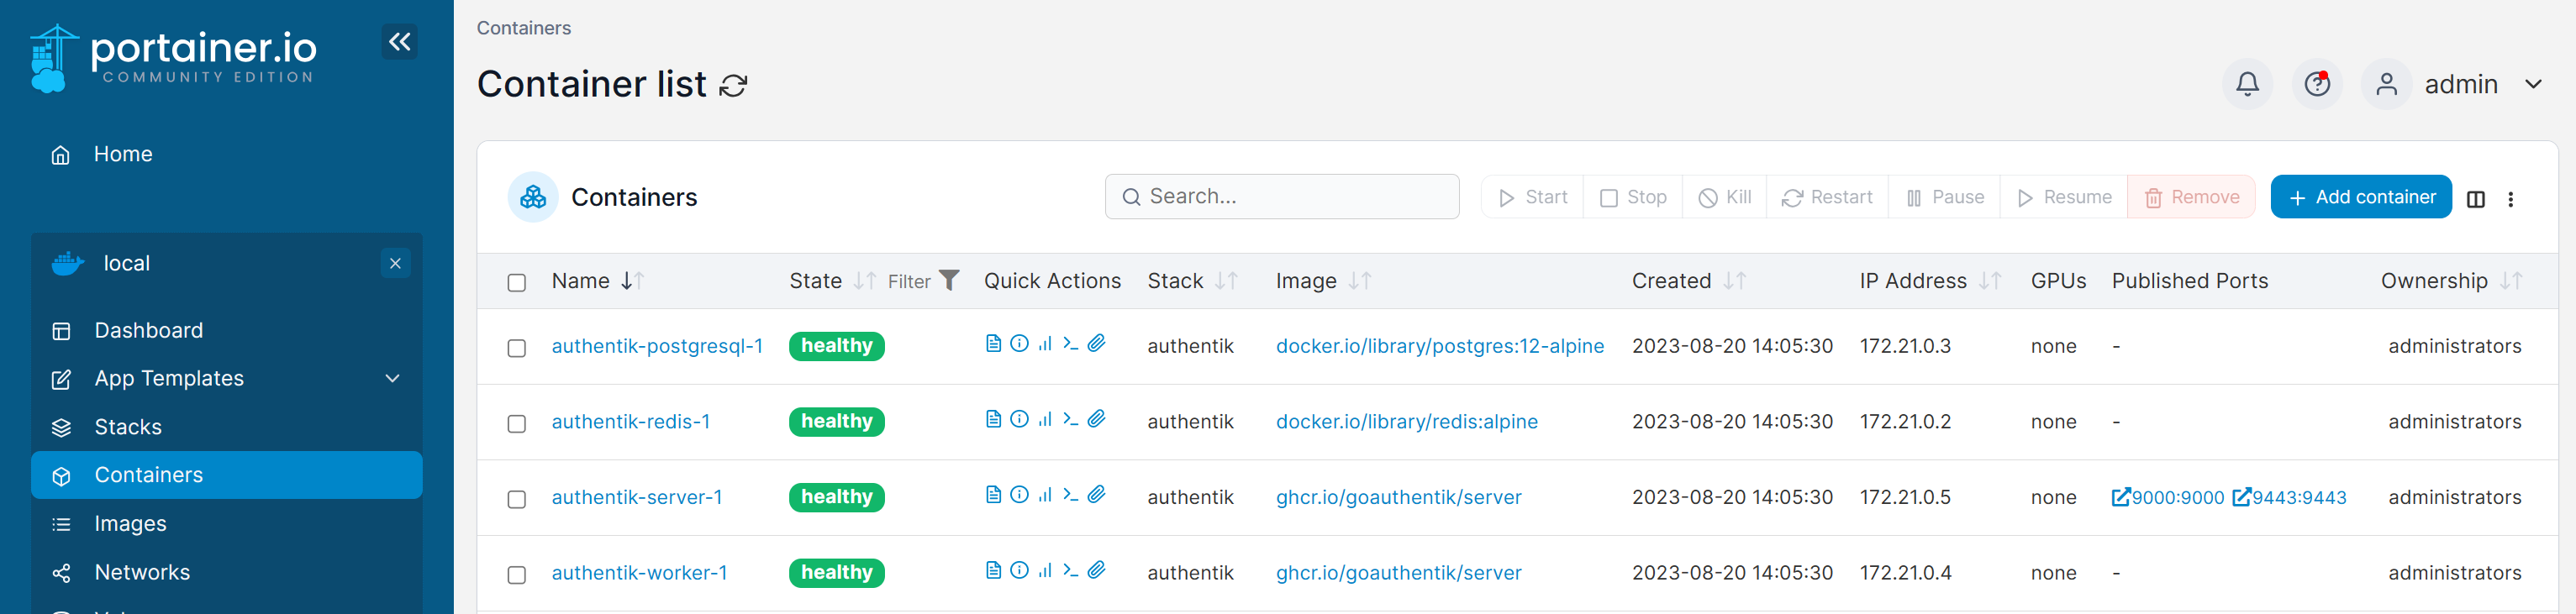
docker-compose 시작
docker-compose up -d
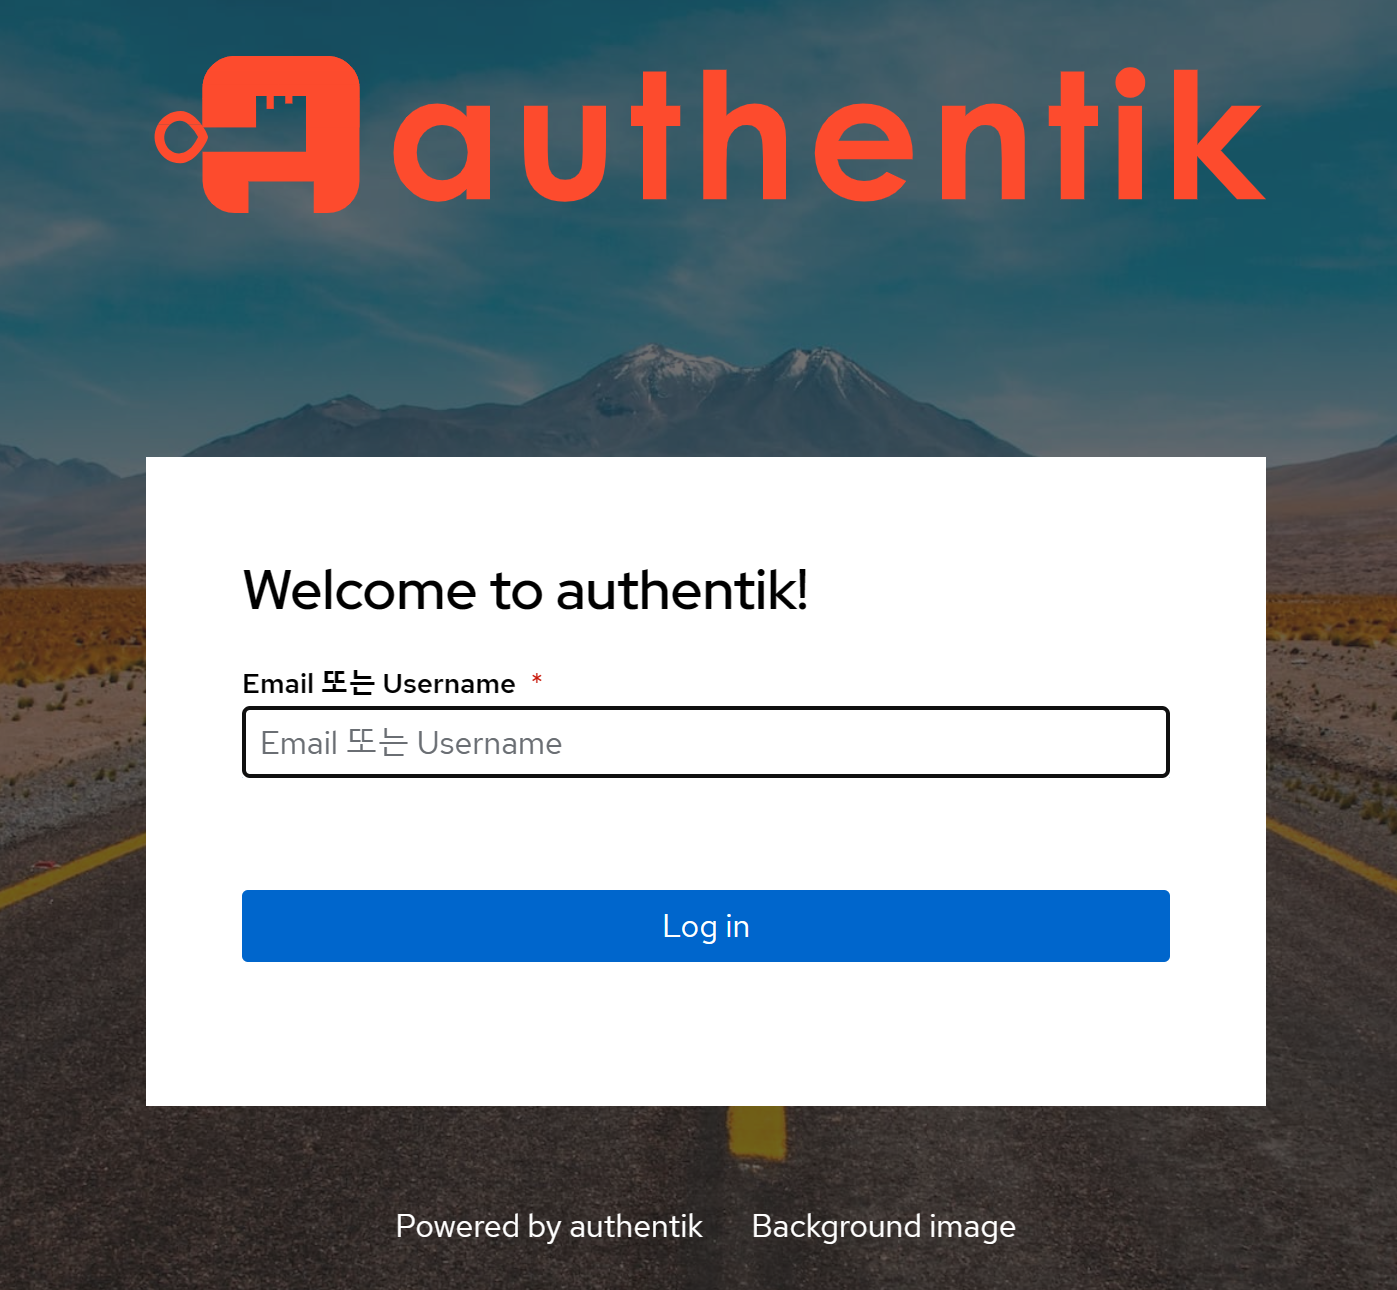
서비스 URL 접속
http://[서버 IP]:9000
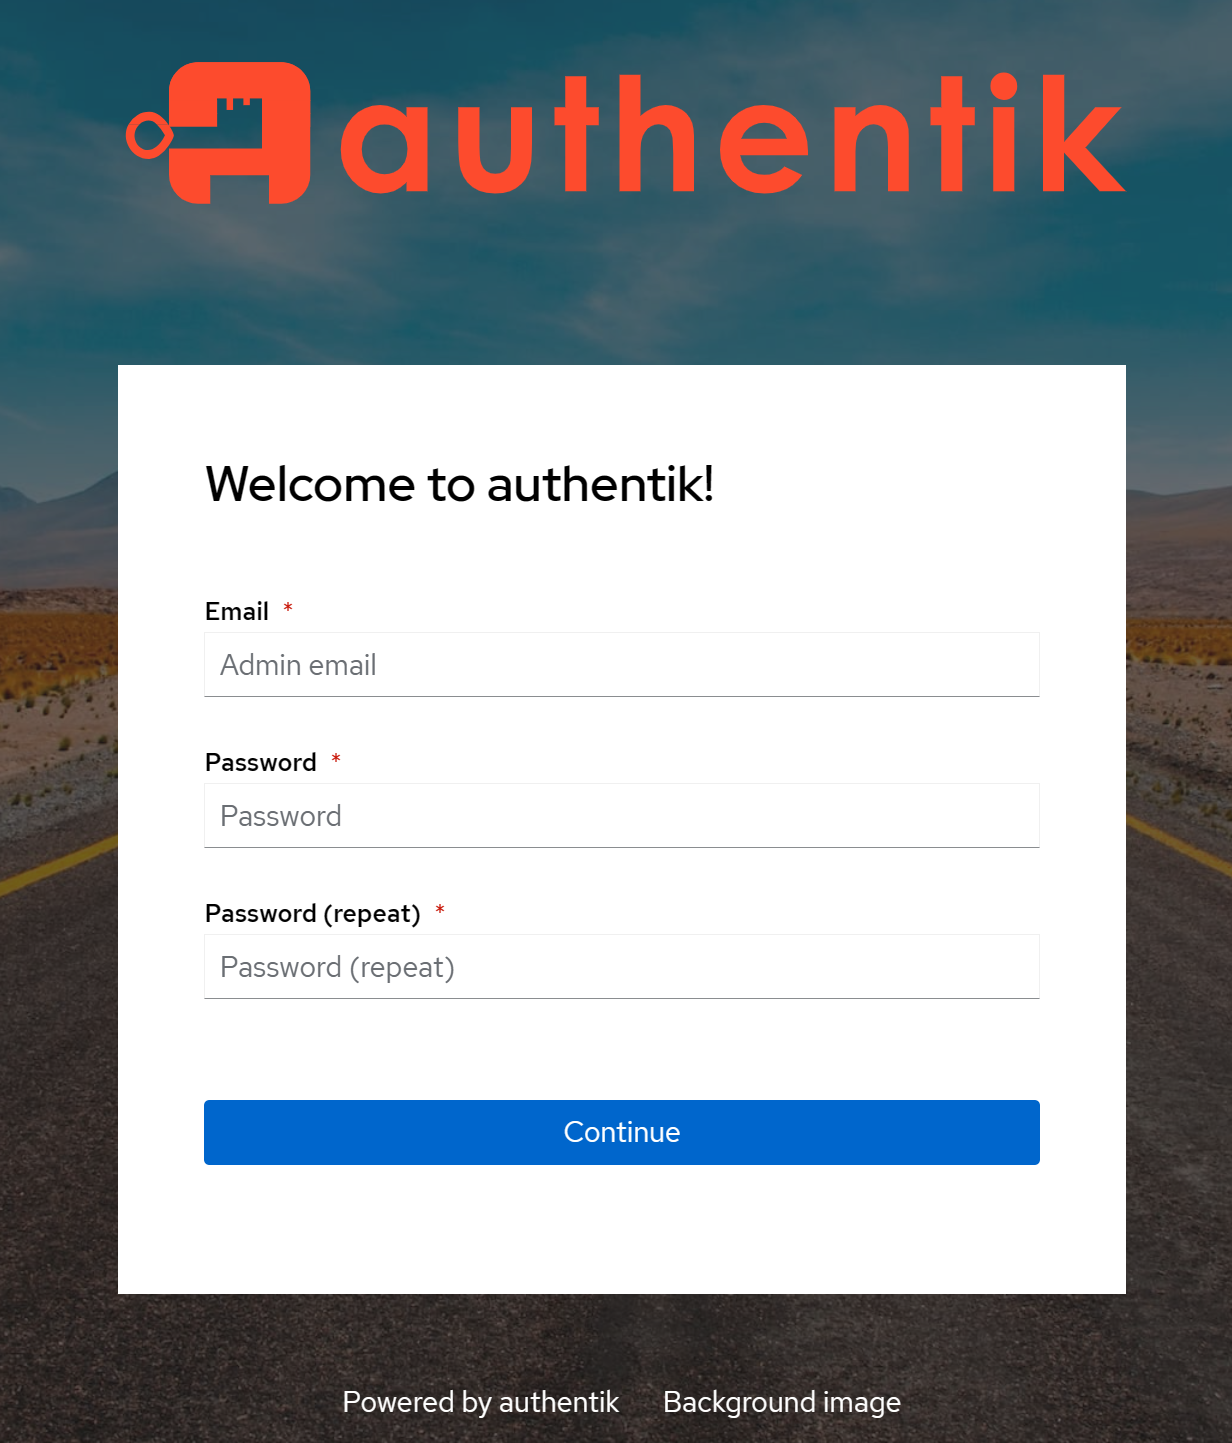
서비스 초기화 설정
http://[서버 IP]:9000/if/flow/initial-setup/
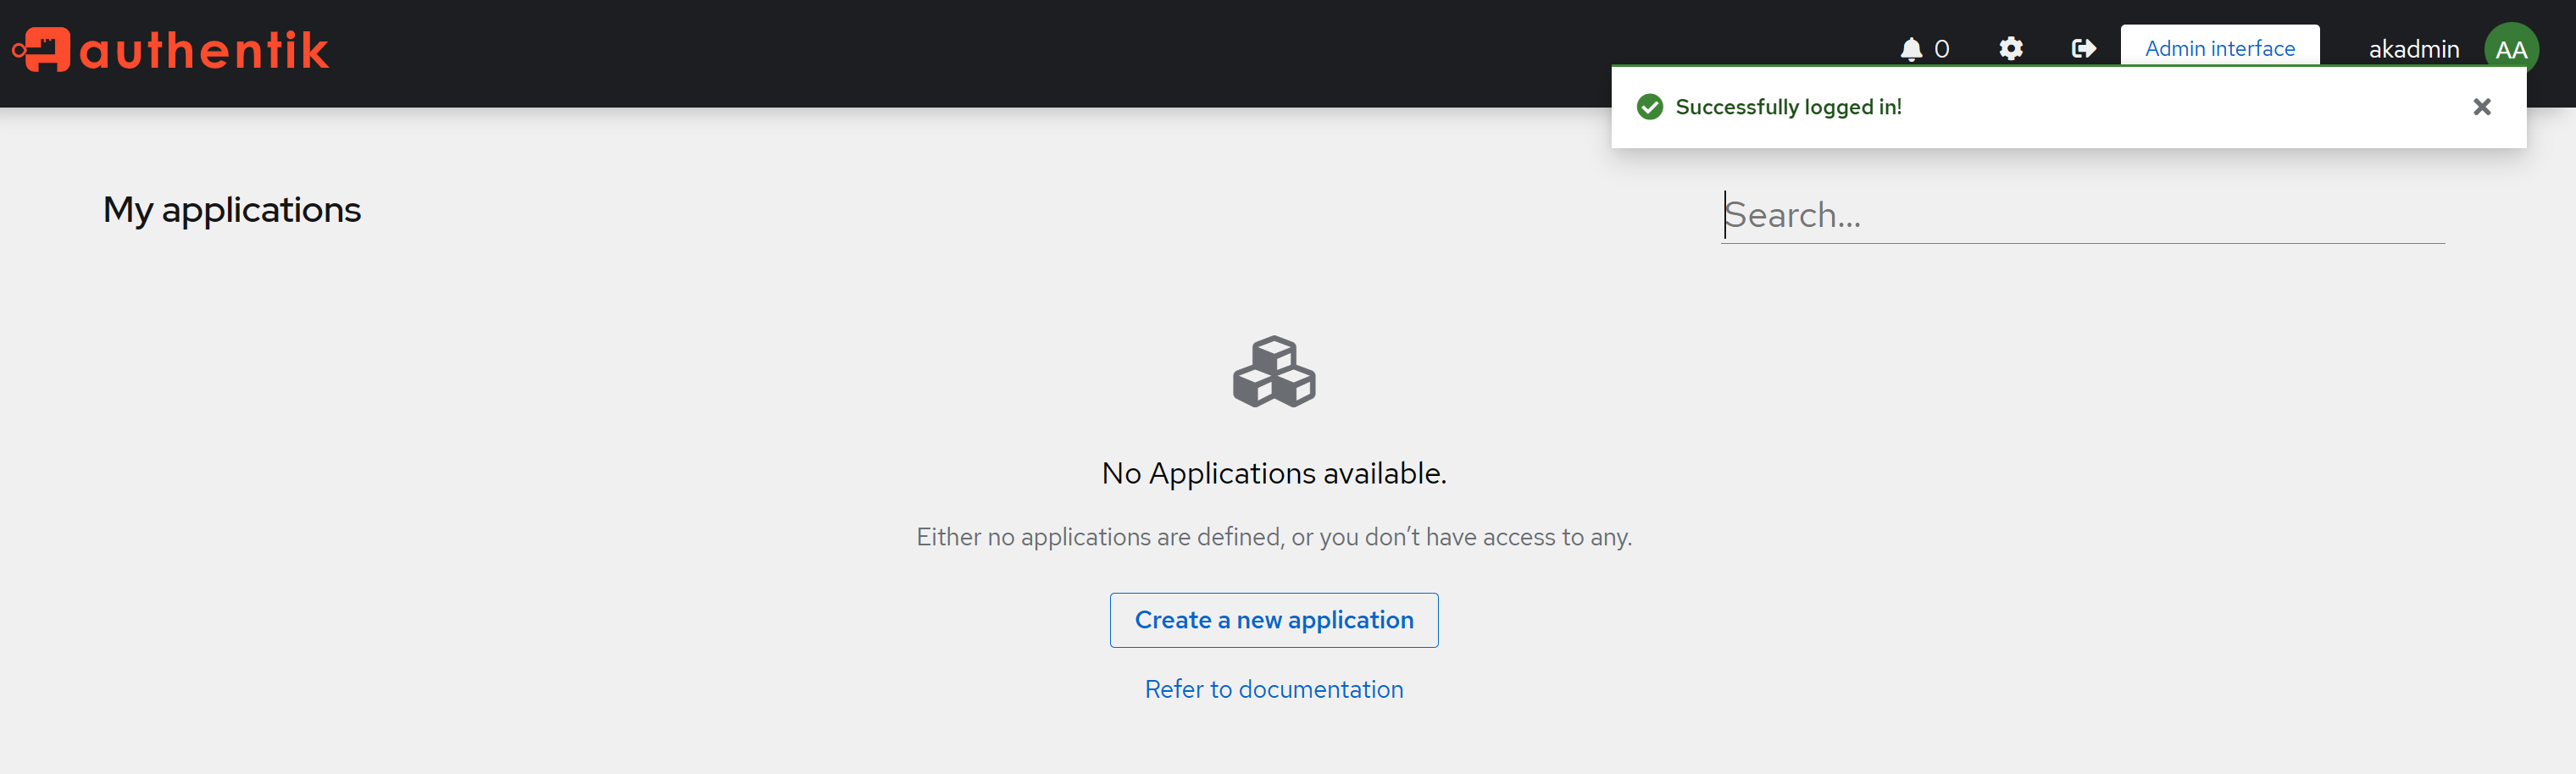
초기화 설정 완료 후 화면
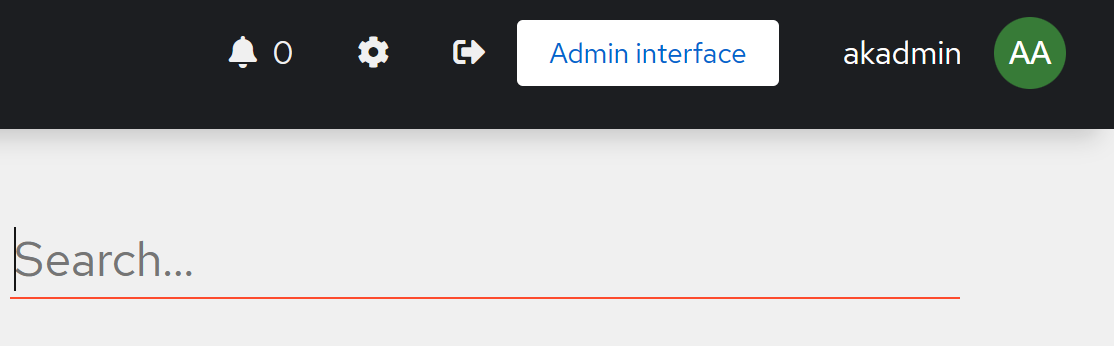
Admin interface 버튼 클릭
Application > Provider 버튼 클릭
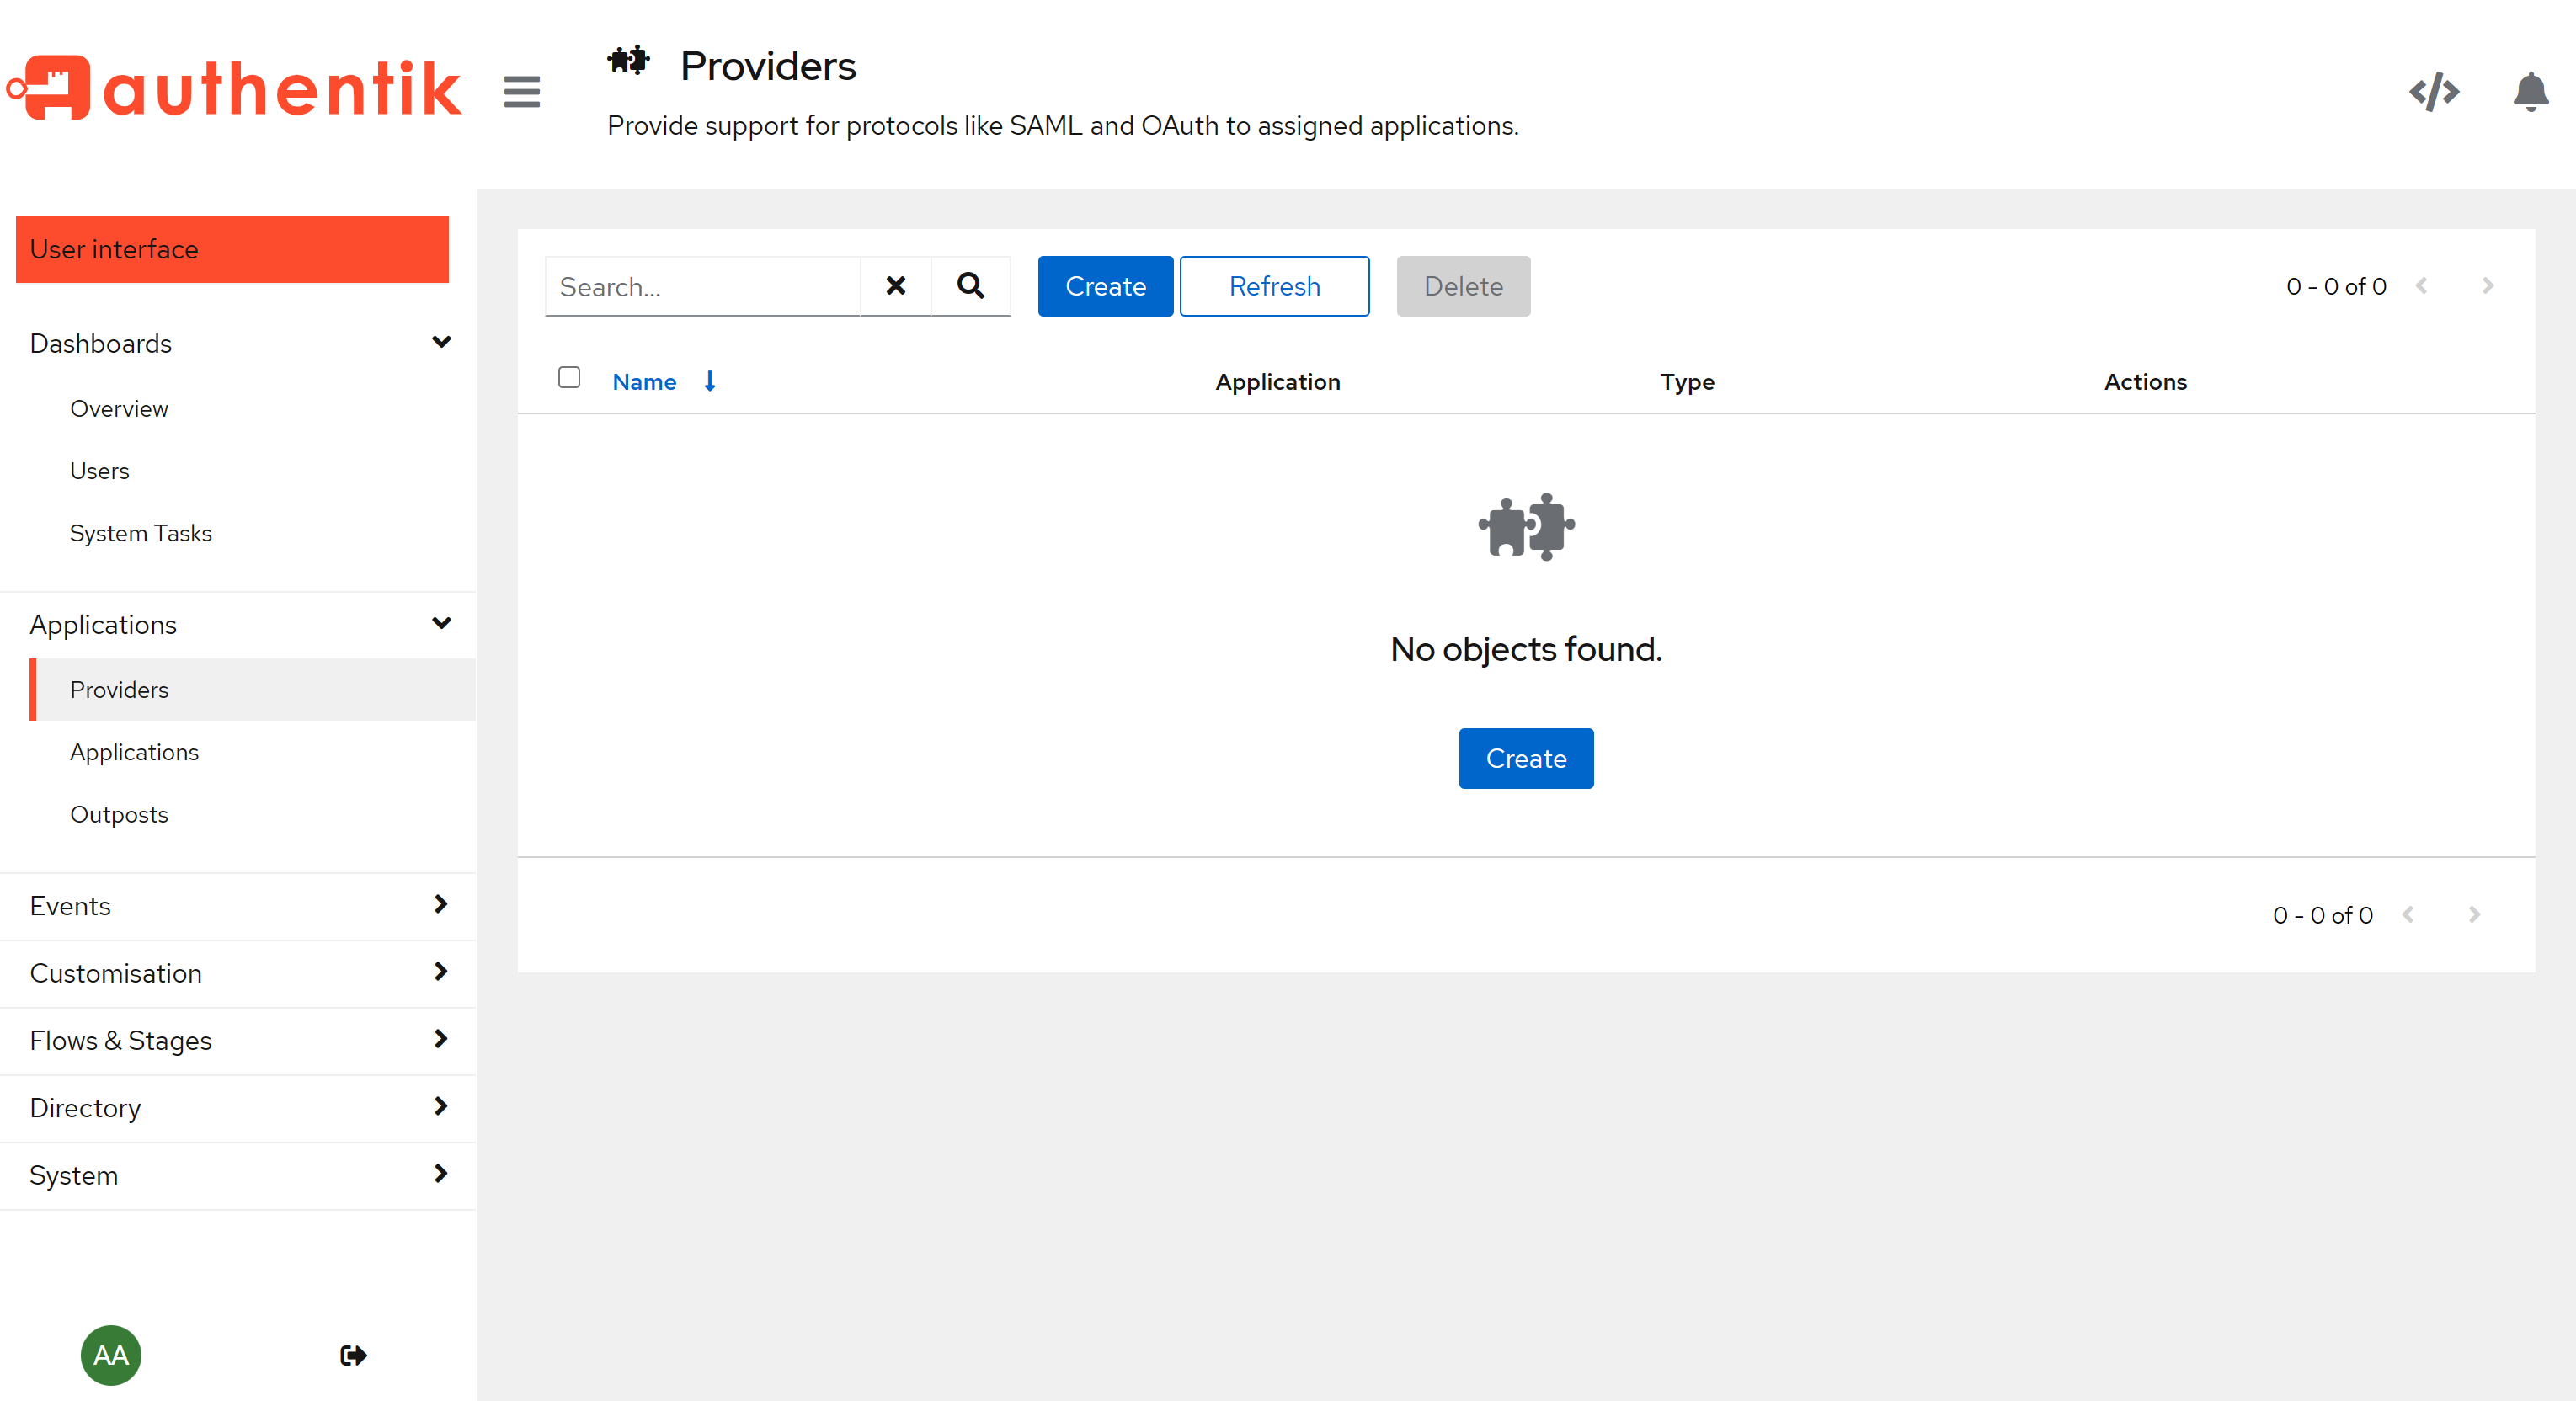
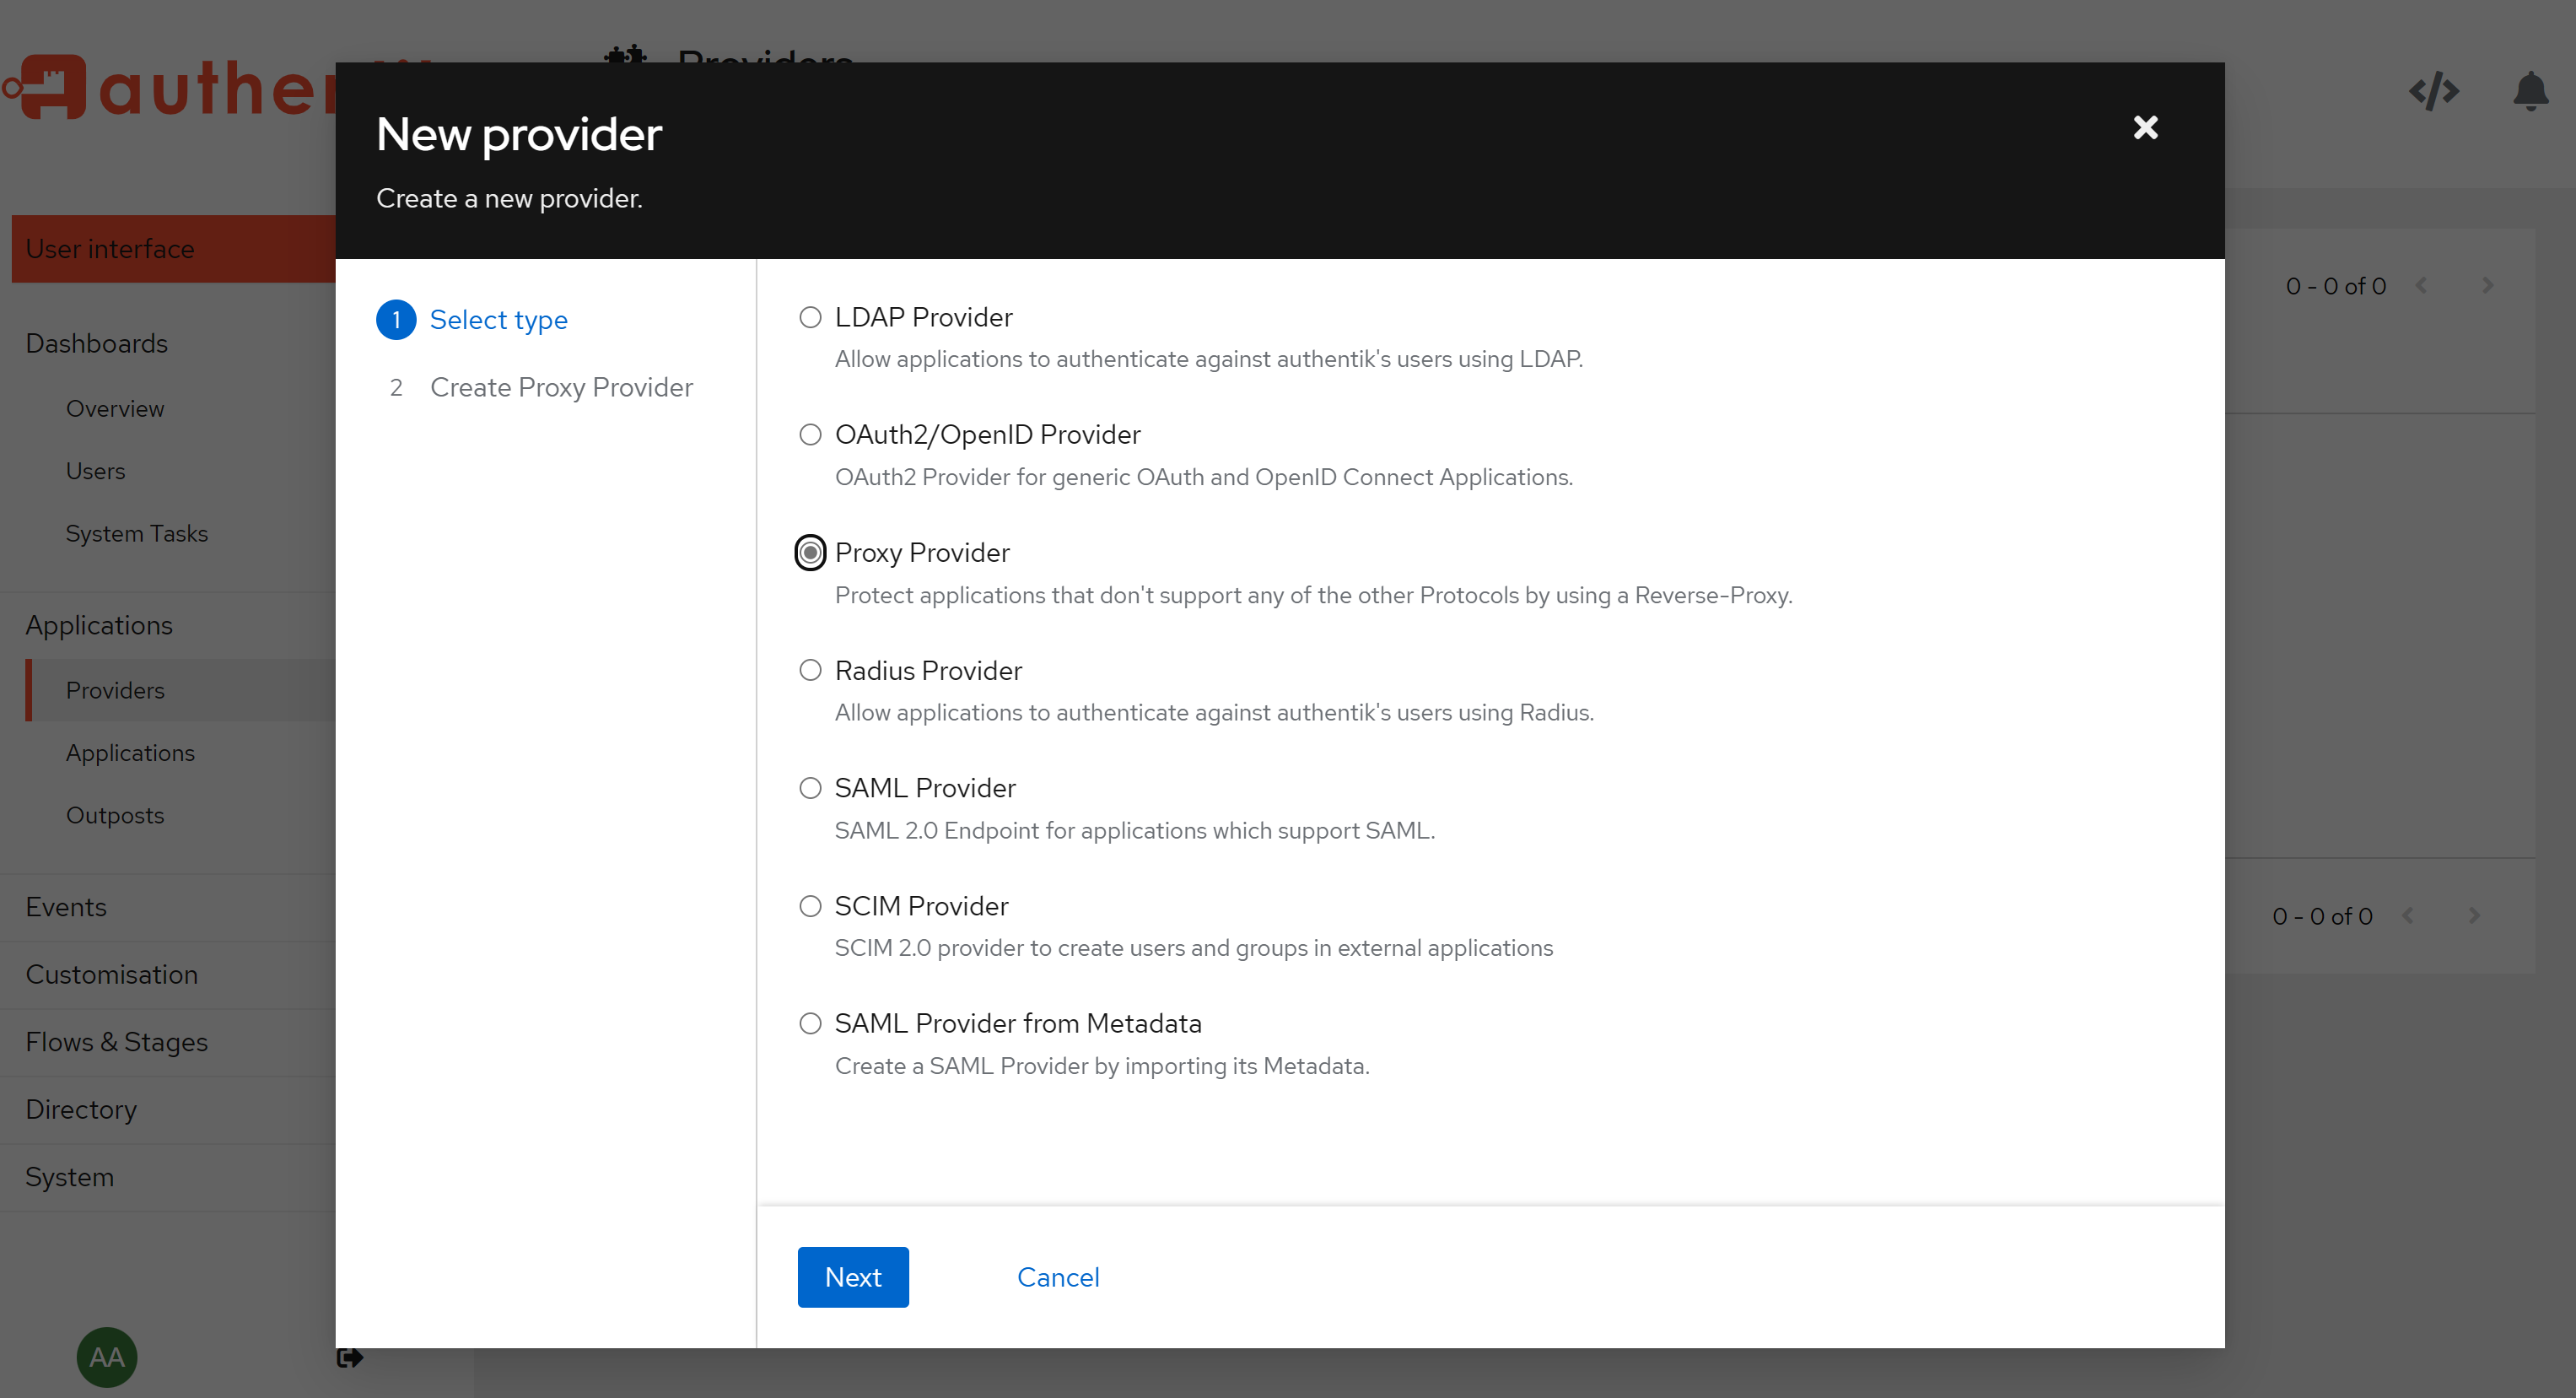
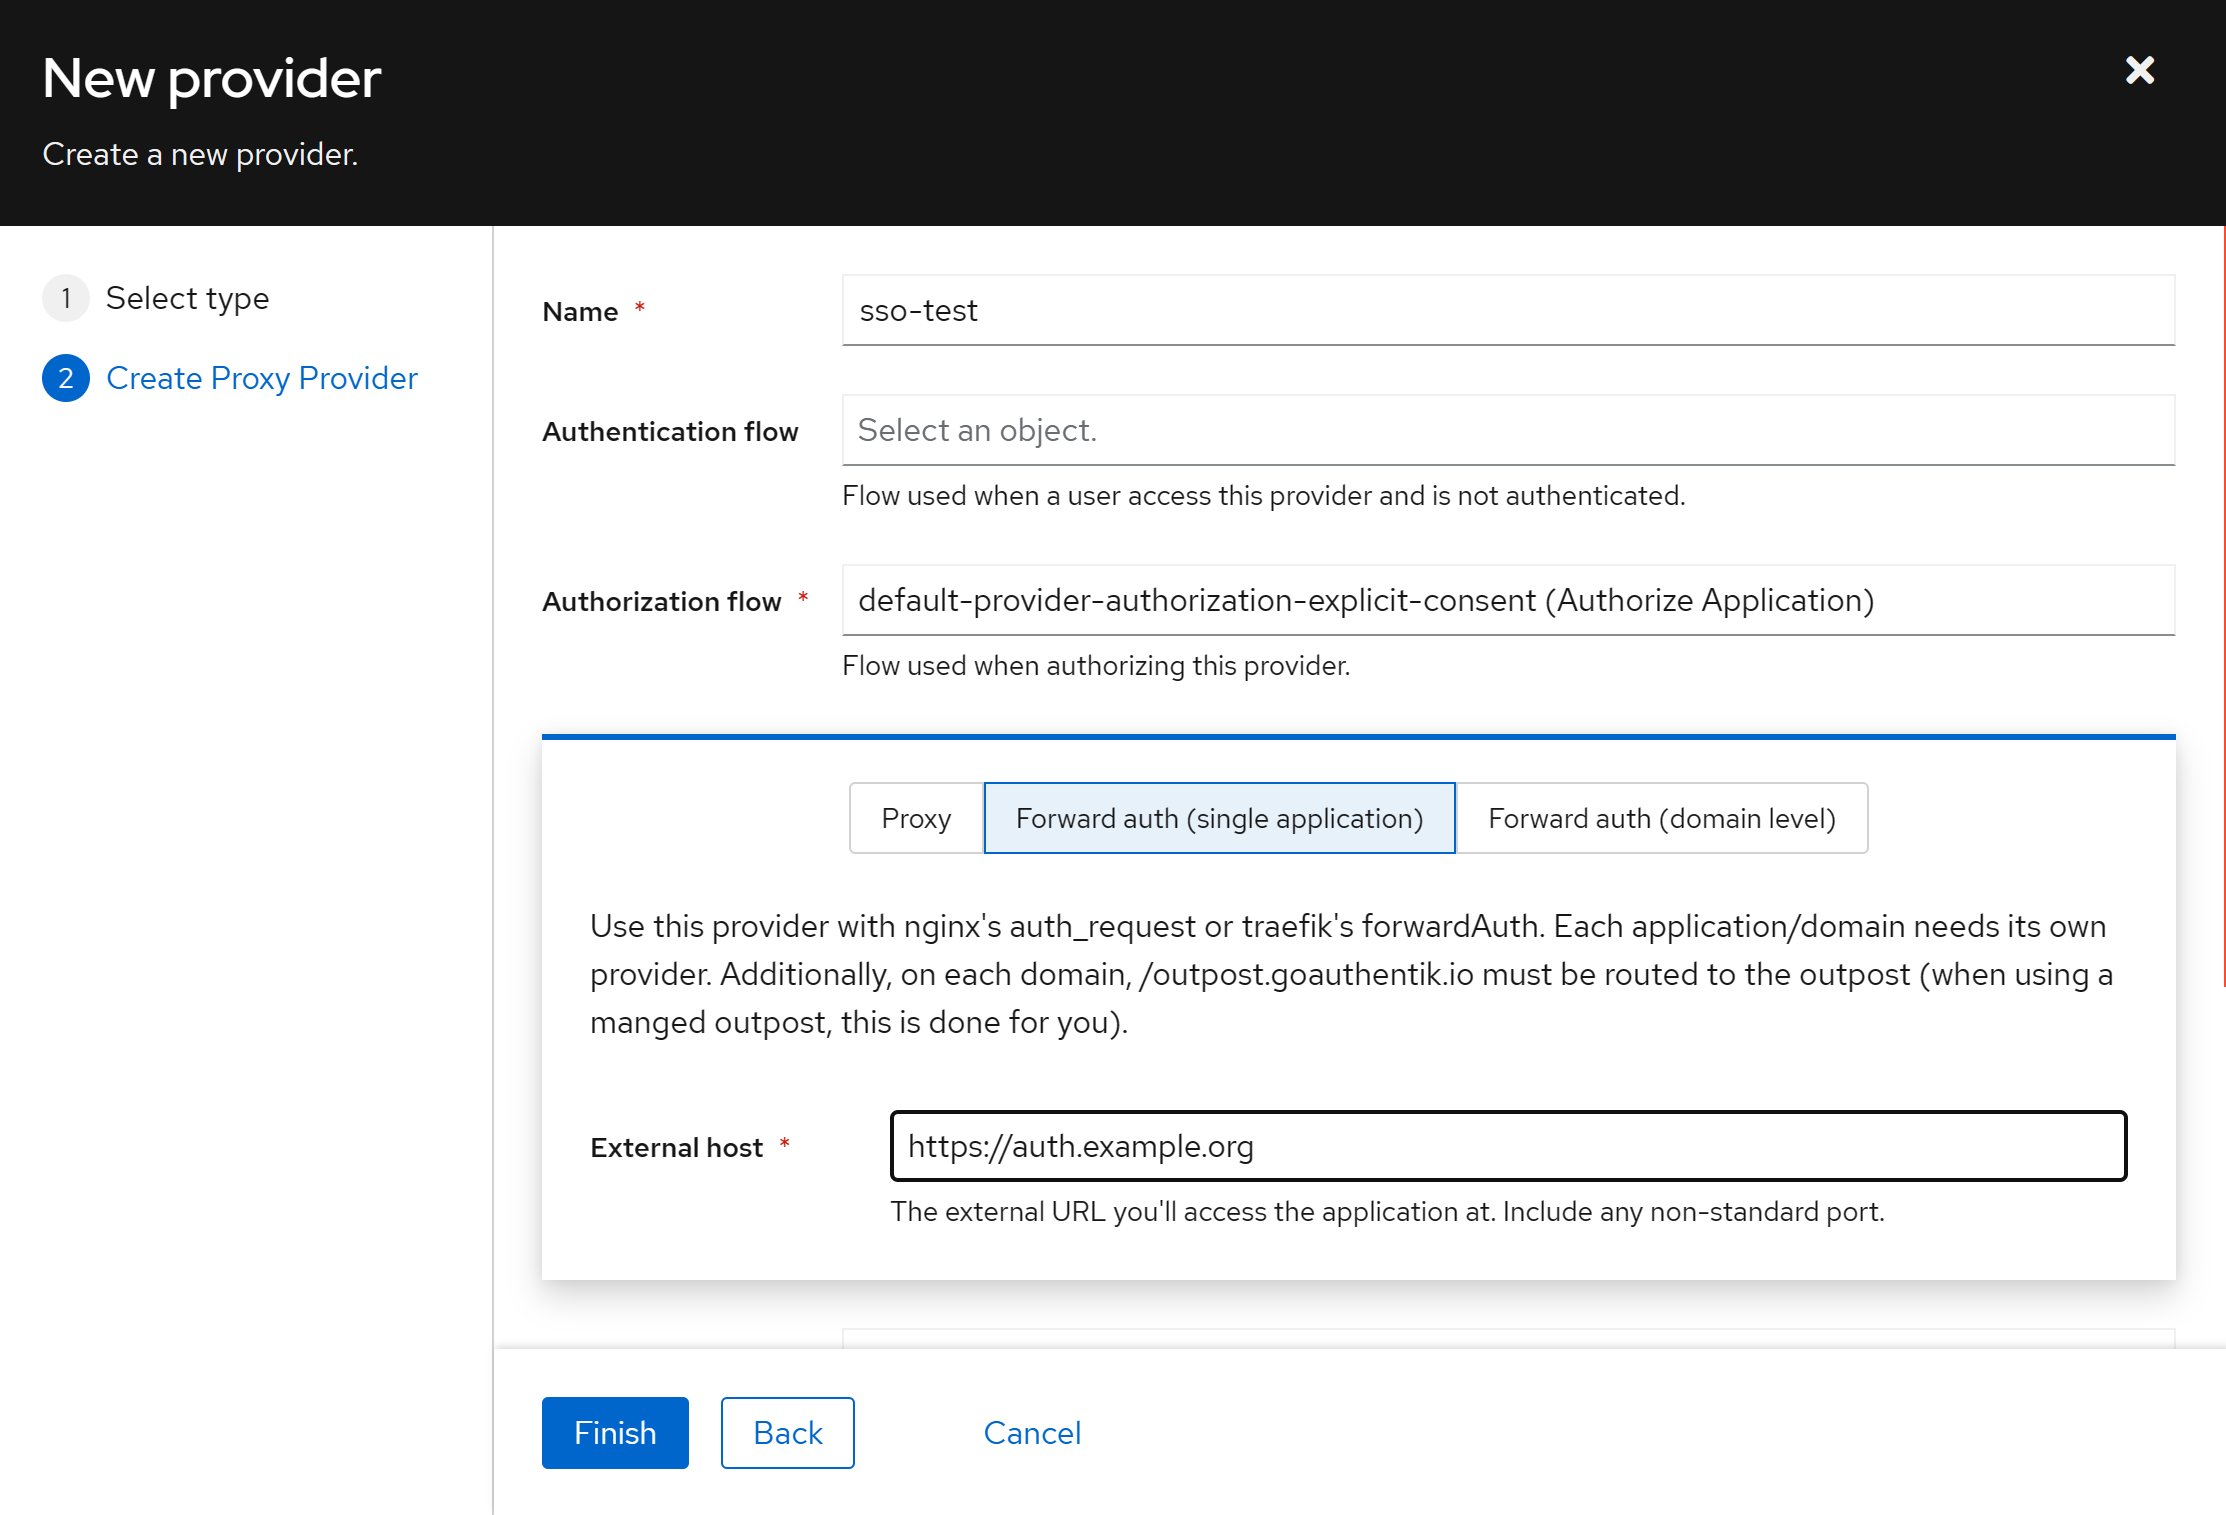
Create 버튼 클릭 후 Proxy Provider 선택
아래와 같이 입력 및 선택해줍니다. External host 는 적용할 도메인을 작성해주시고, Finish 버튼 클릭
Applications > Applications 메뉴 클릭 후 Create 버튼 클릭
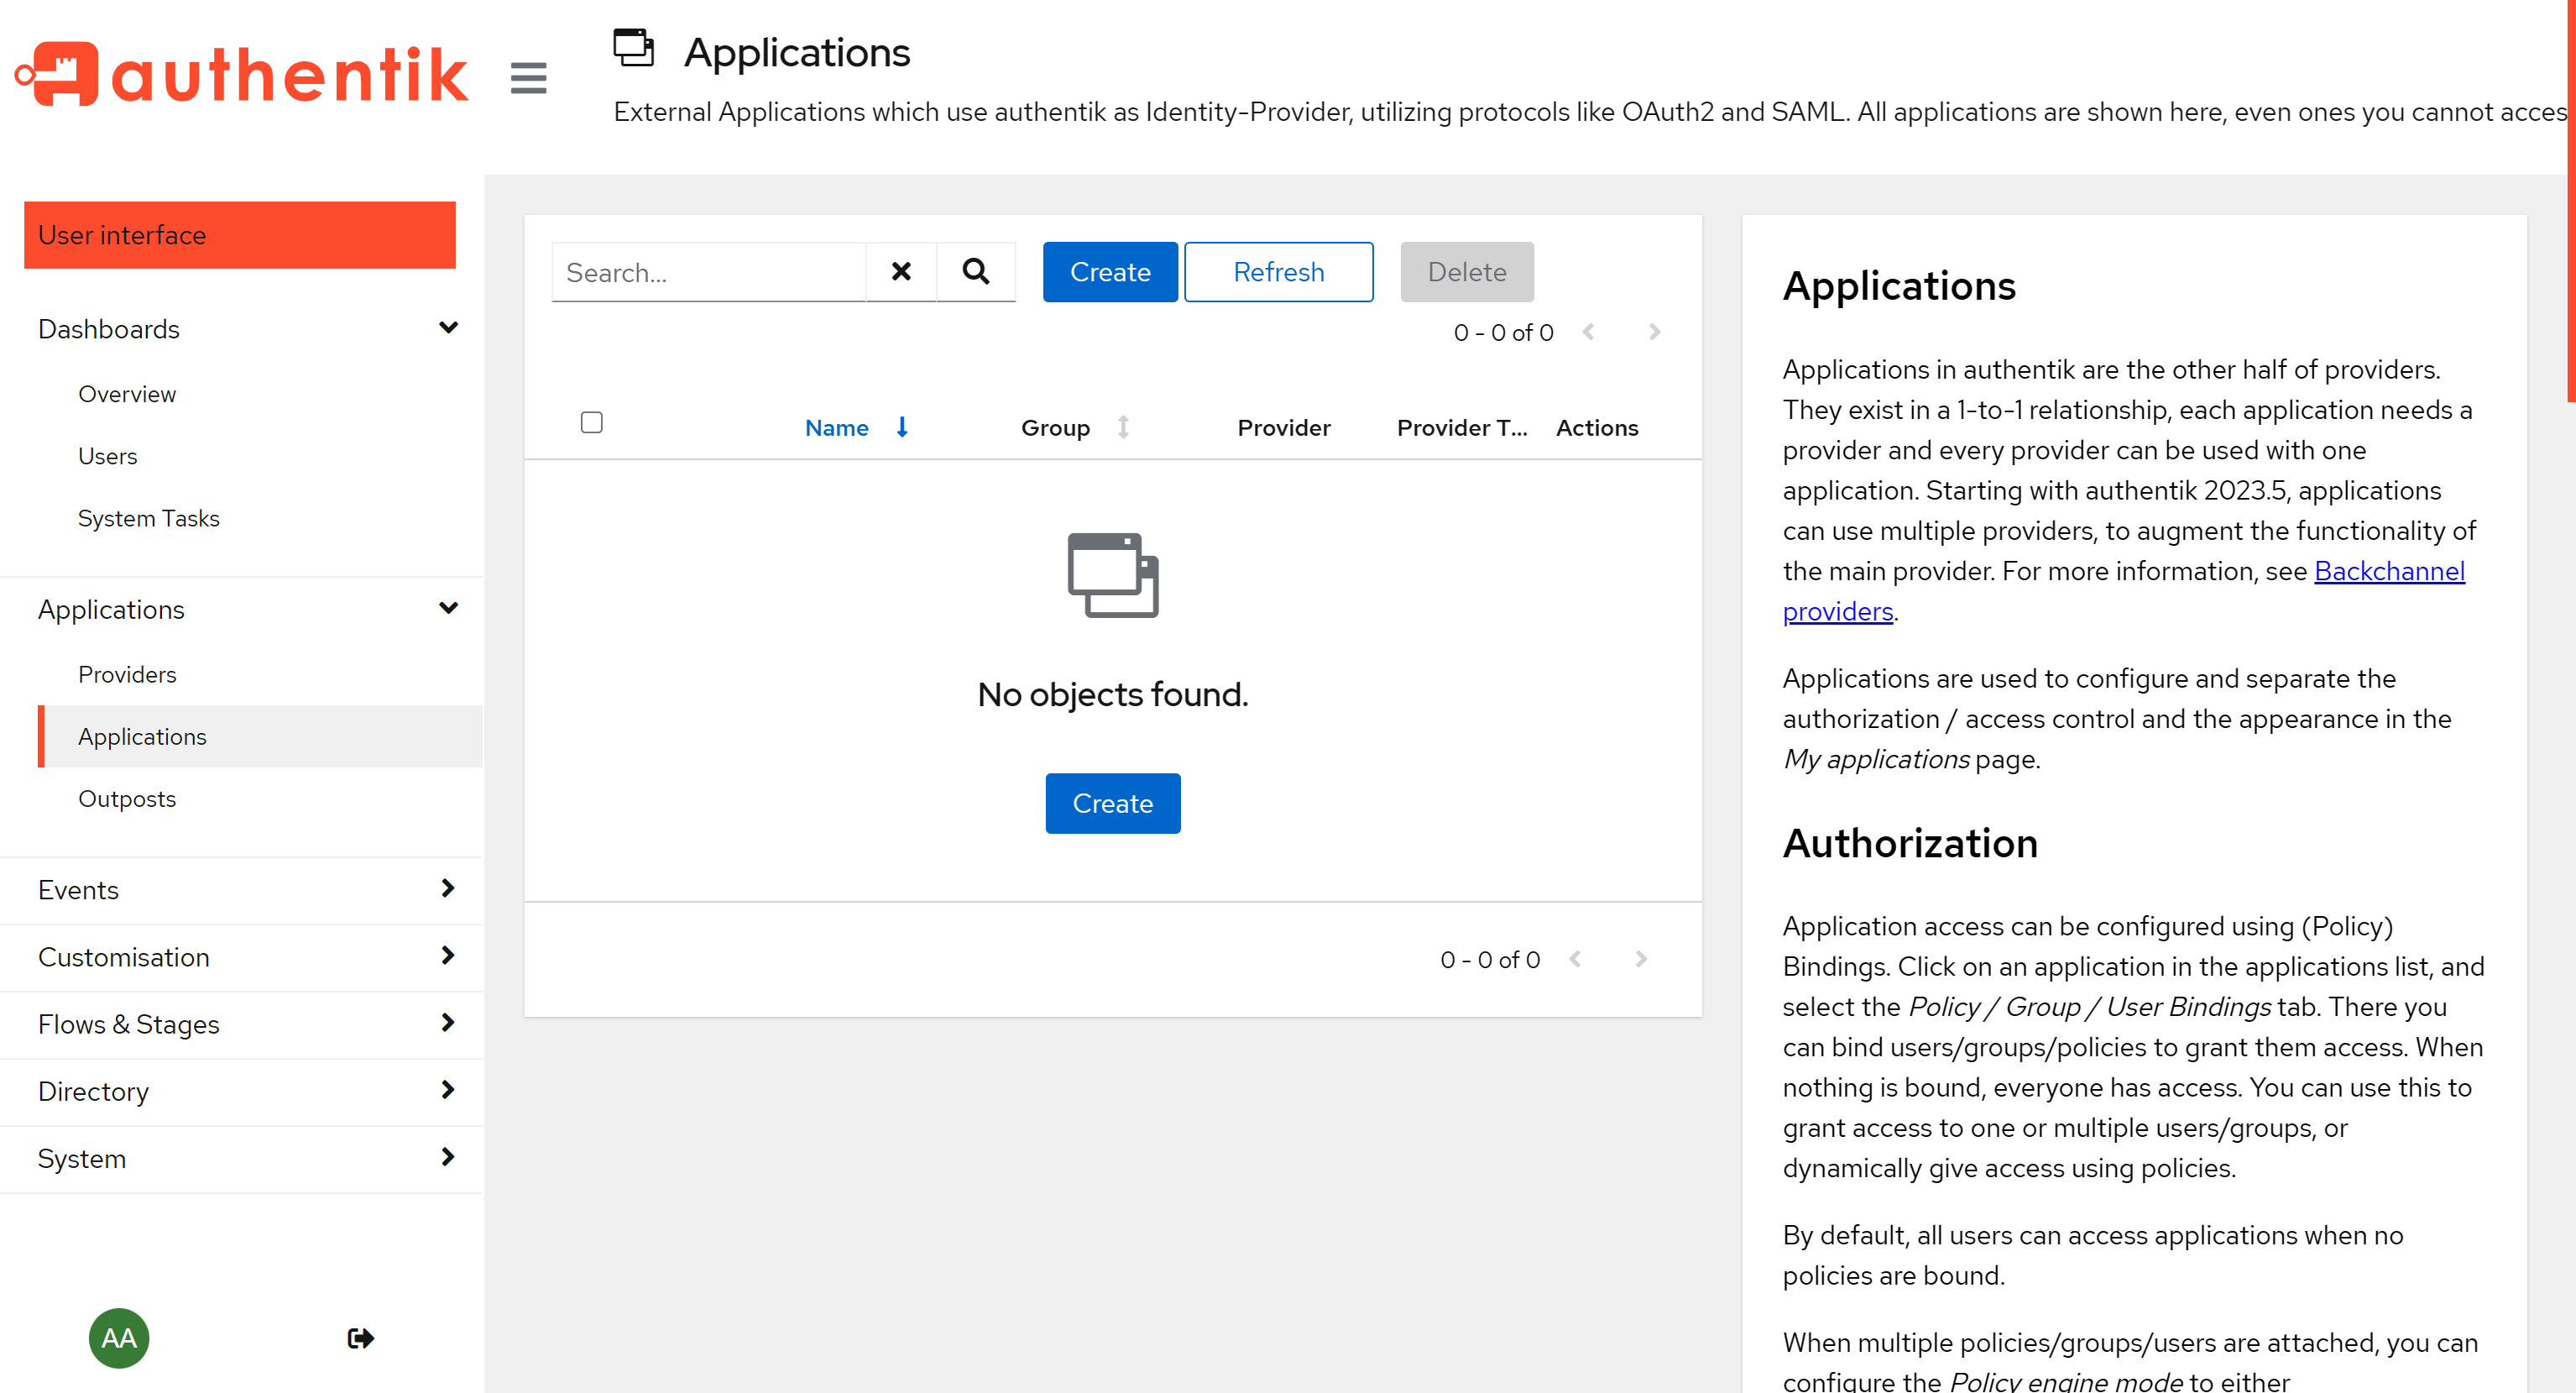
Provider 는 생성했던 sso-test 를 클릭 후 Create 버튼 클

적용할 도메인의 NPM Advanced 에 아래 스크립트 추가

proxy_pass 부분 자신의 서버 IP로 수정하여 NPM 에 붙여넣기
proxy_pass http://auth.example.com/outpost.goauthentik.io;
-> proxy_pass http://192.168.0.143:9000/outpost.goauthentik.io;
# Increase buffer size for large headers
# This is needed only if you get 'upstream sent too big header while reading response
# header from upstream' error when trying to access an application protected by goauthentik
proxy_buffers 8 16k;
proxy_buffer_size 32k;

location / {
    # Put your proxy_pass to your application here
    proxy_pass          $forward_scheme://$server:$port;

    # authentik-specific config
    auth_request        /outpost.goauthentik.io/auth/nginx;
    error_page          401 = @goauthentik_proxy_signin;
    auth_request_set $auth_cookie $upstream_http_set_cookie;
    add_header Set-Cookie $auth_cookie;

    # translate headers from the outposts back to the actual upstream
    auth_request_set $authentik_username $upstream_http_x_authentik_username;
    auth_request_set $authentik_groups $upstream_http_x_authentik_groups;
    auth_request_set $authentik_email $upstream_http_x_authentik_email;
    auth_request_set $authentik_name $upstream_http_x_authentik_name;
    auth_request_set $authentik_uid $upstream_http_x_authentik_uid;

    proxy_set_header X-authentik-username $authentik_username;
    proxy_set_header X-authentik-groups $authentik_groups;
    proxy_set_header X-authentik-email $authentik_email;
    proxy_set_header X-authentik-name $authentik_name;
    proxy_set_header X-authentik-uid $authentik_uid;
}

# all requests to /outpost.goauthentik.io must be accessible without authentication
location /outpost.goauthentik.io {
    proxy_pass          http://auth.example.com/outpost.goauthentik.io;
    # ensure the host of this vserver matches your external URL you've configured
    # in authentik
    proxy_set_header    Host $host;
    proxy_set_header    X-Original-URL $scheme://$http_host$request_uri;
    add_header          Set-Cookie $auth_cookie;
    auth_request_set    $auth_cookie $upstream_http_set_cookie;

    # required for POST requests to work
    proxy_pass_request_body off;
    proxy_set_header Content-Length "";
}

# Special location for when the /auth endpoint returns a 401,
# redirect to the /start URL which initiates SSO
location @goauthentik_proxy_signin {
    internal;
    add_header Set-Cookie $auth_cookie;
    return 302 /outpost.goauthentik.io/start?rd=$request_uri;
    # For domain level, use the below error_page to redirect to your authentik server with the full redirect path
    # return 302 https://authentik.company/outpost.goauthentik.io/start?rd=$scheme://$http_host$request_uri;
}
docker-comopse 중지
docker-compose down
'Docker' 카테고리의 다른 글
| [Docker] Proxmox 를 Grafana + InfluxDB 로 모니터링 구축하기 (1) | 2023.08.26 |
|---|---|
| [Docker] Traefik 으로 reverse proxy 서버 구축하기 (1) | 2023.08.24 |
| [Docker] kafdrop 으로 kafka 모니터링 구축하기 (1) | 2023.08.22 |
| [Docker] Hoppscotch 구축하여, postman 같이 이용하자! (1) | 2023.08.21 |
| [Docker] kafka-ui 로 kafka 모니터링 및 topic 관리 (1) | 2023.08.20 |