 Korean
 Afrikaans
 Albanian
 Amharic
 Arabic
 Armenian
 Azerbaijani
 Basque
 Belarusian
 Bengali
 Bosnian
 Bulgarian
 Catalan
 Cebuano
 Chichewa
 Chinese (Simplified)
 Chinese (Traditional)
 Corsican
 Croatian
 Czech
Czech Danish
 Dutch
Dutch English
 Esperanto
 Estonian
 Filipino
 Finnish
 French
 Frisian
 Galician
 Georgian
 German
 Greek
Greek Gujarati
 Haitian Creole
 Hausa
Hausa Hawaiian
 Hebrew
 Hindi
Hindi Hmong
Hmong Hungarian
 Icelandic
 Igbo
Igbo Indonesian
 Irish
Irish Italian
 Japanese
 Javanese
 Kannada
 Kazakh
 Khmer
Khmer Kurdish (Kurmanji)
 Kyrgyz
 Lao
Lao Latin
Latin Latvian
 Lithuanian
 Luxembourgish
 Macedonian
 Malagasy
 Malay
Malay Malayalam
 Maltese
 Maori
Maori Marathi
 Mongolian
 Myanmar (Burmese)
 Nepali
 Norwegian
 Pashto
 Persian
 Polish
 Portuguese
 Punjabi
 Romanian
 Russian
 Samoan
 Scottish Gaelic
 Serbian
 Sesotho
 Shona
Shona Sindhi
 Sinhala
 Slovak
 Slovenian
 Somali
 Spanish
 Sundanese
 Swahili
 Swedish
 Tajik
Tajik Tamil
Tamil Telugu
 Thai
Thai Turkish
 Ukrainian
 Urdu
Urdu Uzbek
Uzbek Vietnamese
 Welsh
Welsh Xhosa
Xhosa Yiddish
 Yoruba
 Zulu
ZuluOutline Wiki는 팀을 위한 빠르고 협업 가능한 지식 기반 플랫폼입니다. 주로 React와 Node.js로 구축되었으며, 실시간 협업 기능과 Markdown 호환성을 갖추고 있습니다
주요 특징
- 실시간 협업: 여러 사용자가 동시에 문서를 편집할 수 있습니다.
- Markdown 지원: Markdown 형식을 사용하여 문서를 작성하고 편집할 수 있습니다.
- 셀프 호스팅 가능: 오픈 소스 프로젝트로, 자체 서버에 설치하여 사용할 수 있습니다.
- Slack 통합: Slack 계정을 통해 인증하고 통합할 수 있습니다
사용 사례
Outline Wiki는 팀 내 지식 공유와 문서화를 위한 훌륭한 도구입니다. 프로젝트 문서, 회의록, 기술 문서 등을 체계적으로 관리할 수 있습니다.
[Docker] 도커의 모든 것, 도커 추천 이미지!!! (tistory.com)
[Docker] 도커의 모든 것, 도커 추천 이미지!!!
필자는 이때까지 docker로 구축한 모든 목록을 이 블로그에 담았다. 앞으로도 이 페이지는 필자가 도커를 구축할 때마다 업데이트하려고 하니, 즐겨찾기 해두면 나쁘지 않을 거 같다. 유용하게 사
betwe.tistory.com
Slack API 생성하기
Slack API: Applications | Slack
Slack API: Applications | Slack
Your Apps Don't see an app you're looking for? Sign in to another workspace.
api.slack.com
Slack API 페이지 들어가서 App 생성

OAuth & Permissions 에서 Redirect URL 설정
Basic Information 메뉴에서 Client ID 와 Client Secret 복사 하여 docker.env 설정에 입력
$ vi docker.env
openssl rand -hex 32 명령어로 생성된 값을 SCRET_KEY 와 UTILS_SECRET 에 입력
-- 기본으로 수정해야할 설정 값 --
SCRET_KEY=
UTILS_SECRET=
URL=https://outline.example.org
SLACK_CLIENT_ID=
SLACK_CLIENT_SECRET=
# –––––––––––––––– REQUIRED ––––––––––––––––

NODE_ENV=production

# Generate a hex-encoded 32-byte random key. You should use `openssl rand -hex 32`
# in your terminal to generate a random value.
SECRET_KEY=

# Generate a unique random key. The format is not important but you could still use
# `openssl rand -hex 32` in your terminal to produce this.
UTILS_SECRET=

# For production point these at your databases, in development the default
# should work out of the box.
DATABASE_URL=postgres://user:pass@localhost:5432/outline
DATABASE_CONNECTION_POOL_MIN=
DATABASE_CONNECTION_POOL_MAX=
# Uncomment this to disable SSL for connecting to Postgres
PGSSLMODE=disable

# For redis you can either specify an ioredis compatible url like this
REDIS_URL=redis://localhost:6379
# or alternatively, if you would like to provide additional connection options,
# use a base64 encoded JSON connection option object. Refer to the ioredis documentation
# for a list of available options.
# Example: Use Redis Sentinel for high availability
# {"sentinels":[{"host":"sentinel-0","port":26379},{"host":"sentinel-1","port":26379}],"name":"mymaster"}
# REDIS_URL=ioredis://eyJzZW50aW5lbHMiOlt7Imhvc3QiOiJzZW50aW5lbC0wIiwicG9ydCI6MjYzNzl9LHsiaG9zdCI6InNlbnRpbmVsLTEiLCJwb3J0IjoyNjM3OX1dLCJuYW1lIjoibXltYXN0ZXIifQ==

# URL should point to the fully qualified, publicly accessible URL. If using aPGSSLMODE
# proxy the port in URL and PORT may be different.
URL=
PORT=3000

# See [documentation](docs/SERVICES.md) on running a separate collaboration
# server, for normal operation this does not need to be set.
# COLLABORATION_URL=

# Specify what storage system to use. Possible value is one of "s3" or "local".
# For "local", the avatar images and document attachments will be saved on local disk.
FILE_STORAGE=local

# If "local" is configured for FILE_STORAGE above, then this sets the parent directory under
# which all attachments/images go. Make sure that the process has permissions to create
# this path and also to write files to it.
FILE_STORAGE_LOCAL_ROOT_DIR=/var/lib/outline/data

# Maximum allowed size for the uploaded attachment.
FILE_STORAGE_UPLOAD_MAX_SIZE=262144000

# Override the maximum size of document imports, generally this should be lower
# than the document attachment maximum size.
FILE_STORAGE_IMPORT_MAX_SIZE=

# Override the maximum size of workspace imports, these can be especially large
# and the files are temporary being automatically deleted after a period of time.
FILE_STORAGE_WORKSPACE_IMPORT_MAX_SIZE=

# To support uploading of images for avatars and document attachments in a distributed
# architecture an s3-compatible storage can be configured if FILE_STORAGE=s3 above.
# AWS_ACCESS_KEY_ID=get_a_key_from_aws
# AWS_SECRET_ACCESS_KEY=get_the_secret_of_above_key
# AWS_REGION=xx-xxxx-x
# AWS_S3_ACCELERATE_URL=
# AWS_S3_UPLOAD_BUCKET_URL=http://s3:4569
# AWS_S3_UPLOAD_BUCKET_NAME=bucket_name_here
# AWS_S3_FORCE_PATH_STYLE=true
# AWS_S3_ACL=private

# –––––––––––––– AUTHENTICATION ––––––––––––––

# Third party signin credentials, at least ONE OF EITHER Google, Slack,
# or Microsoft is required for a working installation or you'll have no sign-in
# options.

# To configure Slack auth, you'll need to create an Application at
# => https://api.slack.com/apps
#
# When configuring the Client ID, add a redirect URL under "OAuth & Permissions":
# https://<URL>/auth/slack.callback
SLACK_CLIENT_ID=
SLACK_CLIENT_SECRET=

# To configure Google auth, you'll need to create an OAuth Client ID at
# => https://console.cloud.google.com/apis/credentials
#
# When configuring the Client ID, add an Authorized redirect URI:
# https://<URL>/auth/google.callback
# GOOGLE_CLIENT_ID=
# GOOGLE_CLIENT_SECRET=

# To configure Microsoft/Azure auth, you'll need to create an OAuth Client. See
# the guide for details on setting up your Azure App:
# => https://wiki.generaloutline.com/share/dfa77e56-d4d2-4b51-8ff8-84ea6608faa4
# AZURE_CLIENT_ID=
# AZURE_CLIENT_SECRET=
# AZURE_RESOURCE_APP_ID=

# To configure generic OIDC auth, you'll need some kind of identity provider.
# See documentation for whichever IdP you use to acquire the following info:
# Redirect URI is https://<URL>/auth/oidc.callback
# OIDC_CLIENT_ID=
# OIDC_CLIENT_SECRET=
# OIDC_AUTH_URI=
# OIDC_TOKEN_URI=
# OIDC_USERINFO_URI=
# OIDC_LOGOUT_URI=

# Specify which claims to derive user information from
# Supports any valid JSON path with the JWT payload
#OIDC_USERNAME_CLAIM=

# Display name for OIDC authentication
#OIDC_DISPLAY_NAME=

# Space separated auth scopes.
#OIDC_SCOPES=

# To configure the GitHub integration, you'll need to create a GitHub App at
# => https://github.com/settings/apps
#
# When configuring the Client ID, add a redirect URL under "Permissions & events":
# https://<URL>/api/github.callback
#GITHUB_CLIENT_ID=
#GITHUB_CLIENT_SECRET=
#GITHUB_APP_NAME=
#GITHUB_APP_ID=
#GITHUB_APP_PRIVATE_KEY=

# –––––––––––––––– OPTIONAL ––––––––––––––––

# Base64 encoded private key and certificate for HTTPS termination. This is only
# required if you do not use an external reverse proxy. See documentation:
# https://wiki.generaloutline.com/share/1c922644-40d8-41fe-98f9-df2b67239d45
# SSL_KEY=
# SSL_CERT=

# If using a Cloudfront/Cloudflare distribution or similar it can be set below.
# This will cause paths to javascript, stylesheets, and images to be updated to
# the hostname defined in CDN_URL. In your CDN configuration the origin server
# should be set to the same as URL.
# CDN_URL=

# Auto-redirect to https in production. The default is true but you may set to
# false if you can be sure that SSL is terminated at an external loadbalancer.
FORCE_HTTPS=false

# Have the installation check for updates by sending anonymized statistics to
# the maintainers
# ENABLE_UPDATES=true

# How many processes should be spawned. As a reasonable rule divide your servers
# available memory by 512 for a rough estimate
WEB_CONCURRENCY=2

# You can remove this line if your reverse proxy already logs incoming http
# requests and this ends up being duplicative
DEBUG=http

# Configure lowest severity level for server logs. Should be one of
# error, warn, info, http, verbose, debug and silly
LOG_LEVEL=info

# For a complete Slack integration with search and posting to channels the
# following configs are also needed, some more details
# => https://wiki.generaloutline.com/share/be25efd1-b3ef-4450-b8e5-c4a4fc11e02a
#
# SLACK_VERIFICATION_TOKEN=your_token
# SLACK_APP_ID=A0XXXXXXX
# SLACK_MESSAGE_ACTIONS=true

# Optionally enable Sentry (sentry.io) to track errors and performance,
# and optionally add a Sentry proxy tunnel for bypassing ad blockers in the UI:
# https://docs.sentry.io/platforms/javascript/troubleshooting/#using-the-tunnel-option)
# SENTRY_DSN=
# SENTRY_TUNNEL=

# To support sending outgoing transactional emails such as "document updated" or
# "you've been invited" you'll need to provide authentication for an SMTP server
# SMTP_HOST=
# SMTP_PORT=
# SMTP_USERNAME=
# SMTP_PASSWORD=
# SMTP_FROM_EMAIL=
# SMTP_REPLY_EMAIL=
# SMTP_TLS_CIPHERS=
# SMTP_SECURE=true

# The default interface language. See translate.getoutline.com for a list of
# available language codes and their rough percentage translated.
DEFAULT_LANGUAGE=en_US

# Optionally enable rate limiter at application web server
RATE_LIMITER_ENABLED=true

# Configure default throttling parameters for rate limiter
RATE_LIMITER_REQUESTS=1000
RATE_LIMITER_DURATION_WINDOW=60

# Iframely API config
# IFRAMELY_URL=
# IFRAMELY_API_KEY=
docker-compose.yml 파일
docker-compose.yml
version: "3.2"
services:
  outline:
    image: docker.getoutline.com/outlinewiki/outline:latest
    env_file: ./docker.env
    network_mode: "host"
    ports:
      - "3000:3000"
    volumes:
      - /APP/outline/storage-data:/var/lib/outline/data
    depends_on:
      - postgres
      - redis

  redis:
    image: redis
    env_file: ./docker.env
    network_mode: "host"
    ports:
      - "6379:6379"
    volumes:
      - /APP/outline/redis.conf:/redis.conf
    command: ["redis-server", "/redis.conf"]
    healthcheck:
      test: ["CMD", "redis-cli", "ping"]
      interval: 10s
      timeout: 30s
      retries: 3

  postgres:
    image: postgres
    env_file: ./docker.env
    network_mode: "host"
    ports:
      - "5432:5432"
    volumes:
      - /APP/outline/database-data:/var/lib/postgresql/data
    healthcheck:
      test: ["CMD", "pg_isready", "-d", "outline", "-U", "user"]
      interval: 30s
      timeout: 20s
      retries: 3
    environment:
      POSTGRES_USER: 'user'
      POSTGRES_PASSWORD: 'pass'
      POSTGRES_DB: 'outline'
redis.conf 파일
redis.conf
# 바인딩 주소 설정
bind 0.0.0.0

# Redis 서버를 시작하는 데 사용할 포트 지정
port 6379
# redis 서비스를 daemon 으로 실행하기 위해 yes 설정
#daemonize yes
# 클러스터 모드 활성화
cluster-enabled no
# 클러스터에 사용될 포트 범위
cluster-node-timeout 3000
# 클러스터에 속한 마스터의 최대 수
cluster-require-full-coverage no
# 백그라운드로 RDB 스냅샷 저장
# 더 많은 옵션은 https://redis.io/topics/persistence 를 참고하세요.
appendonly yes

# append only file
appendfilename "appendonly-6379.aof"

# 슬레이브 설정
#slaveof 127.0.0.1 6004
#slave-read-only yes

# 접속가능 크라이언트 수 설정
maxclients 50000

# 최대 메모리 설정
maxmemory 2GB

# 메모리를 초과하는 경우 사용할 정책 설정 (allkeys-lru : 모든 키중에서 가장 오래도록 사용하지 않았던 키 삭제)
maxmemory-policy allkeys-lru

# 비밀번호 설정
#requirepass master

# master node 의 비밀번호를 slave node에 설정정
#masterauth master

# IP 주소 기반 접근 제어
# bind 127.0.0.1

# 보안을 위해 클라이언트 주소 또는 서브넷에서 연결을 거부
# deny 192.168.1.1

# 스냅샷 주기 설정
#save 900 1
#save 300 10
#save 60 10000

# RDB 스냅샷을 사용하는 경우의 파일 이름 설정
dbfilename dump-6379.rdb
docker-compose 시작
docker-compose up -d
서비스 URL 접속
http://[서버 IP]:3000 또는 https://outline.example.org (Reverse Proxy 한 도메인)
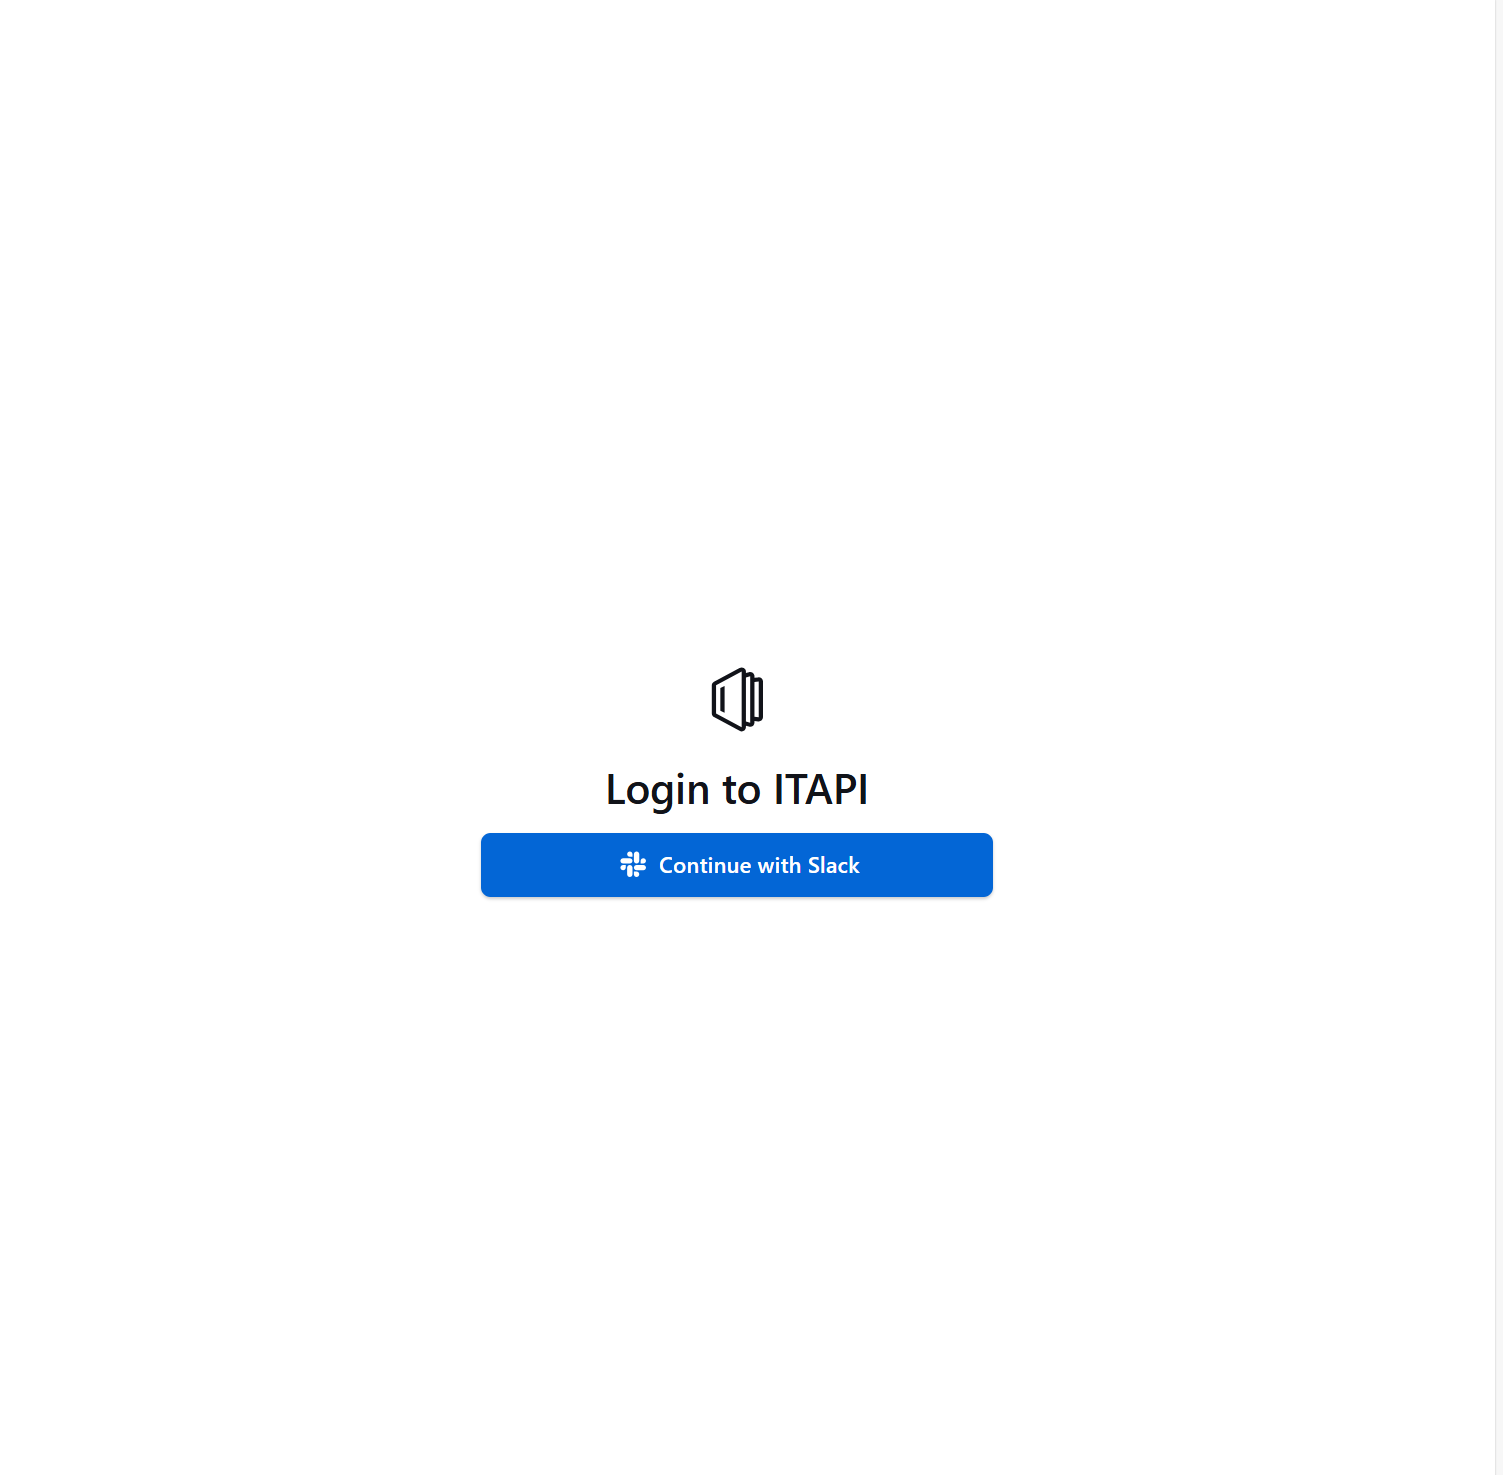
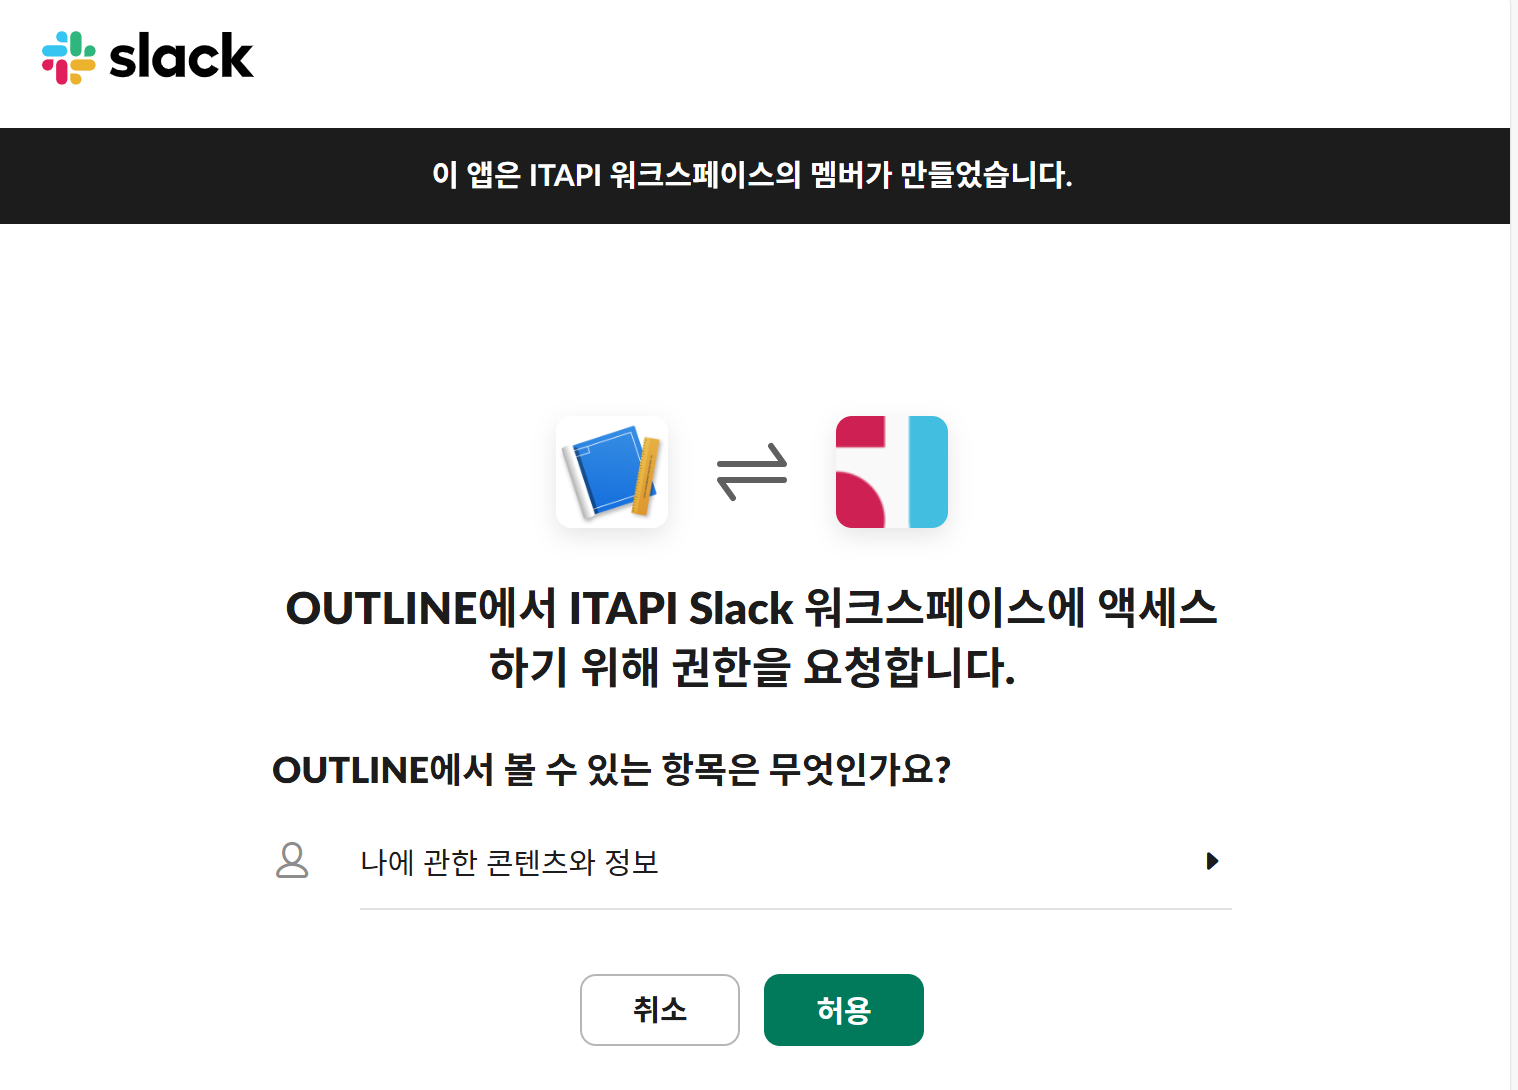
SLACK 워크스페이스 액세스 권한 허용
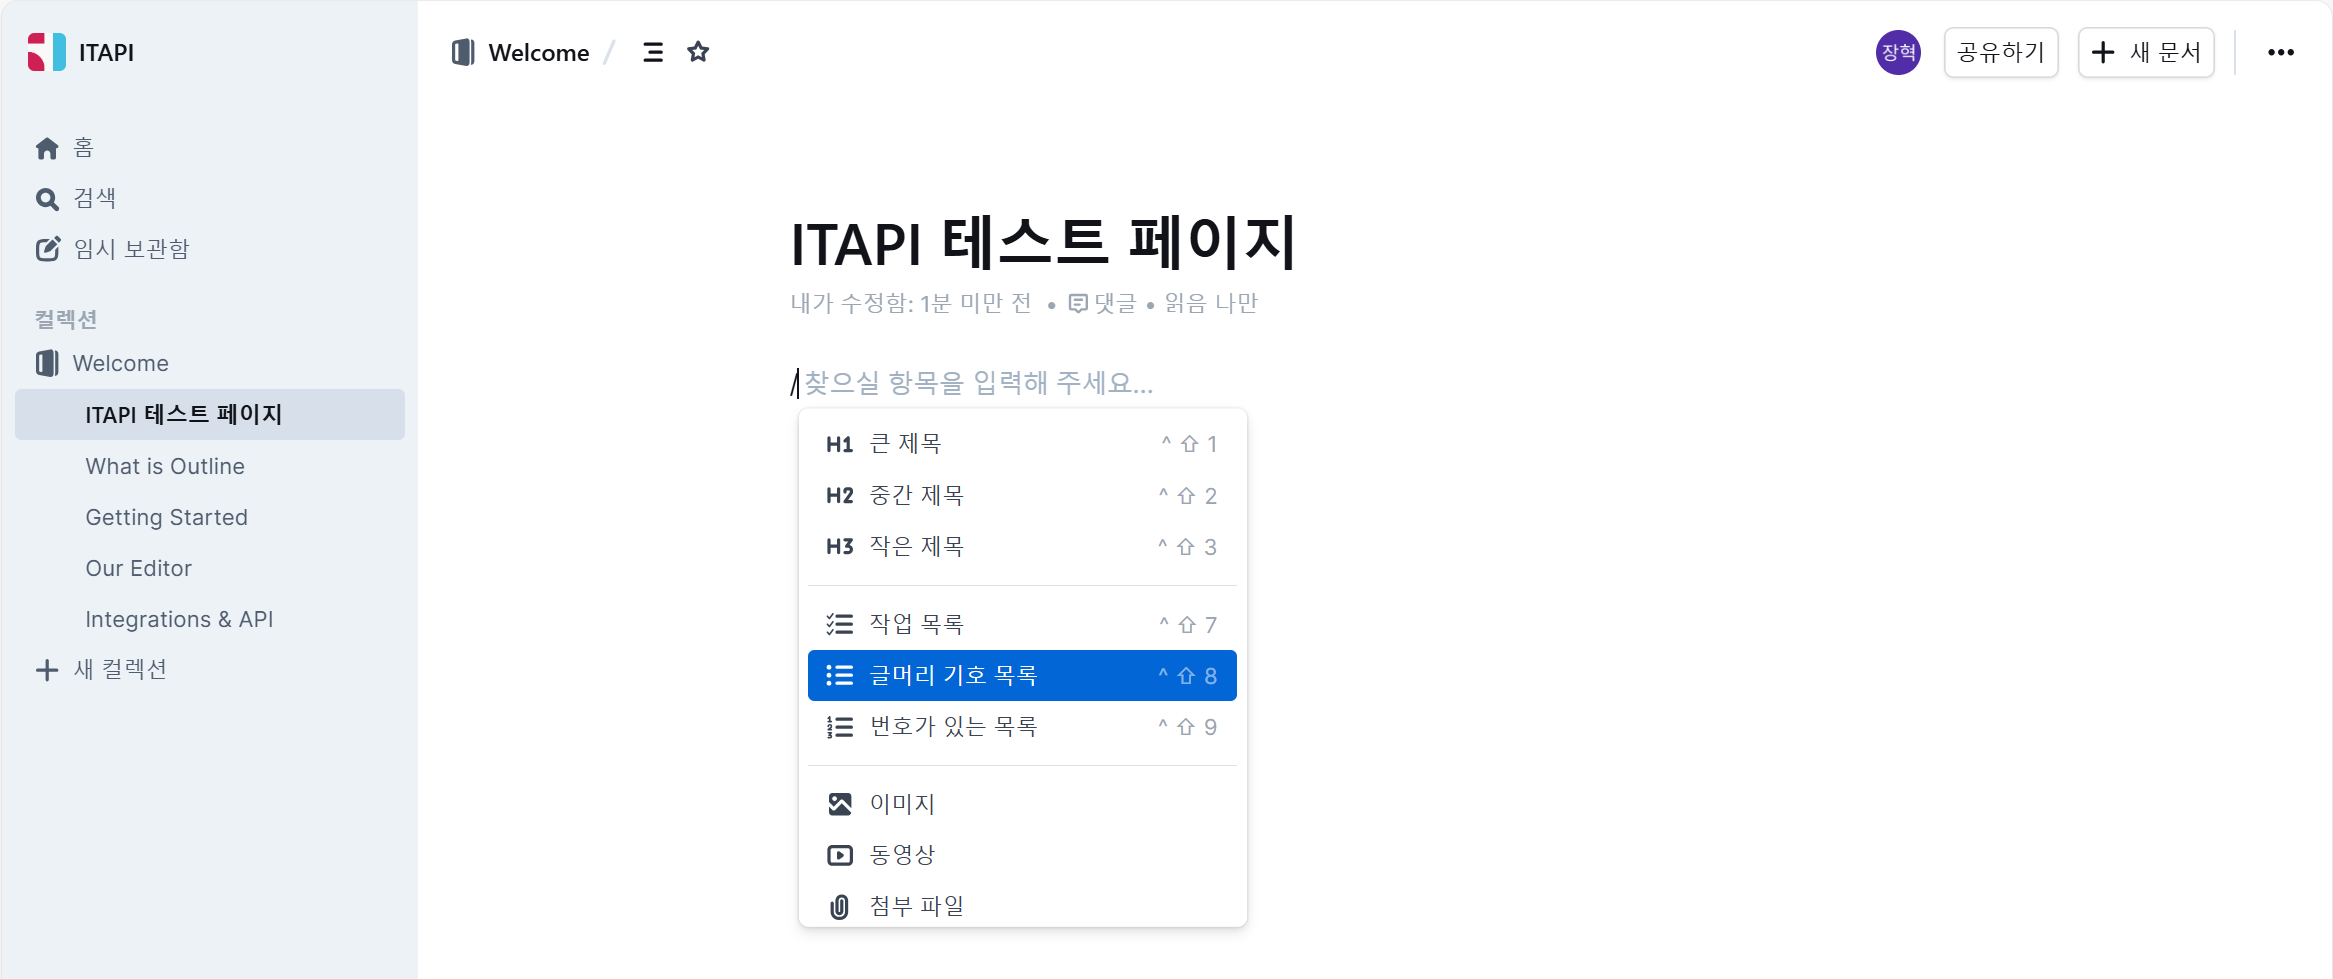
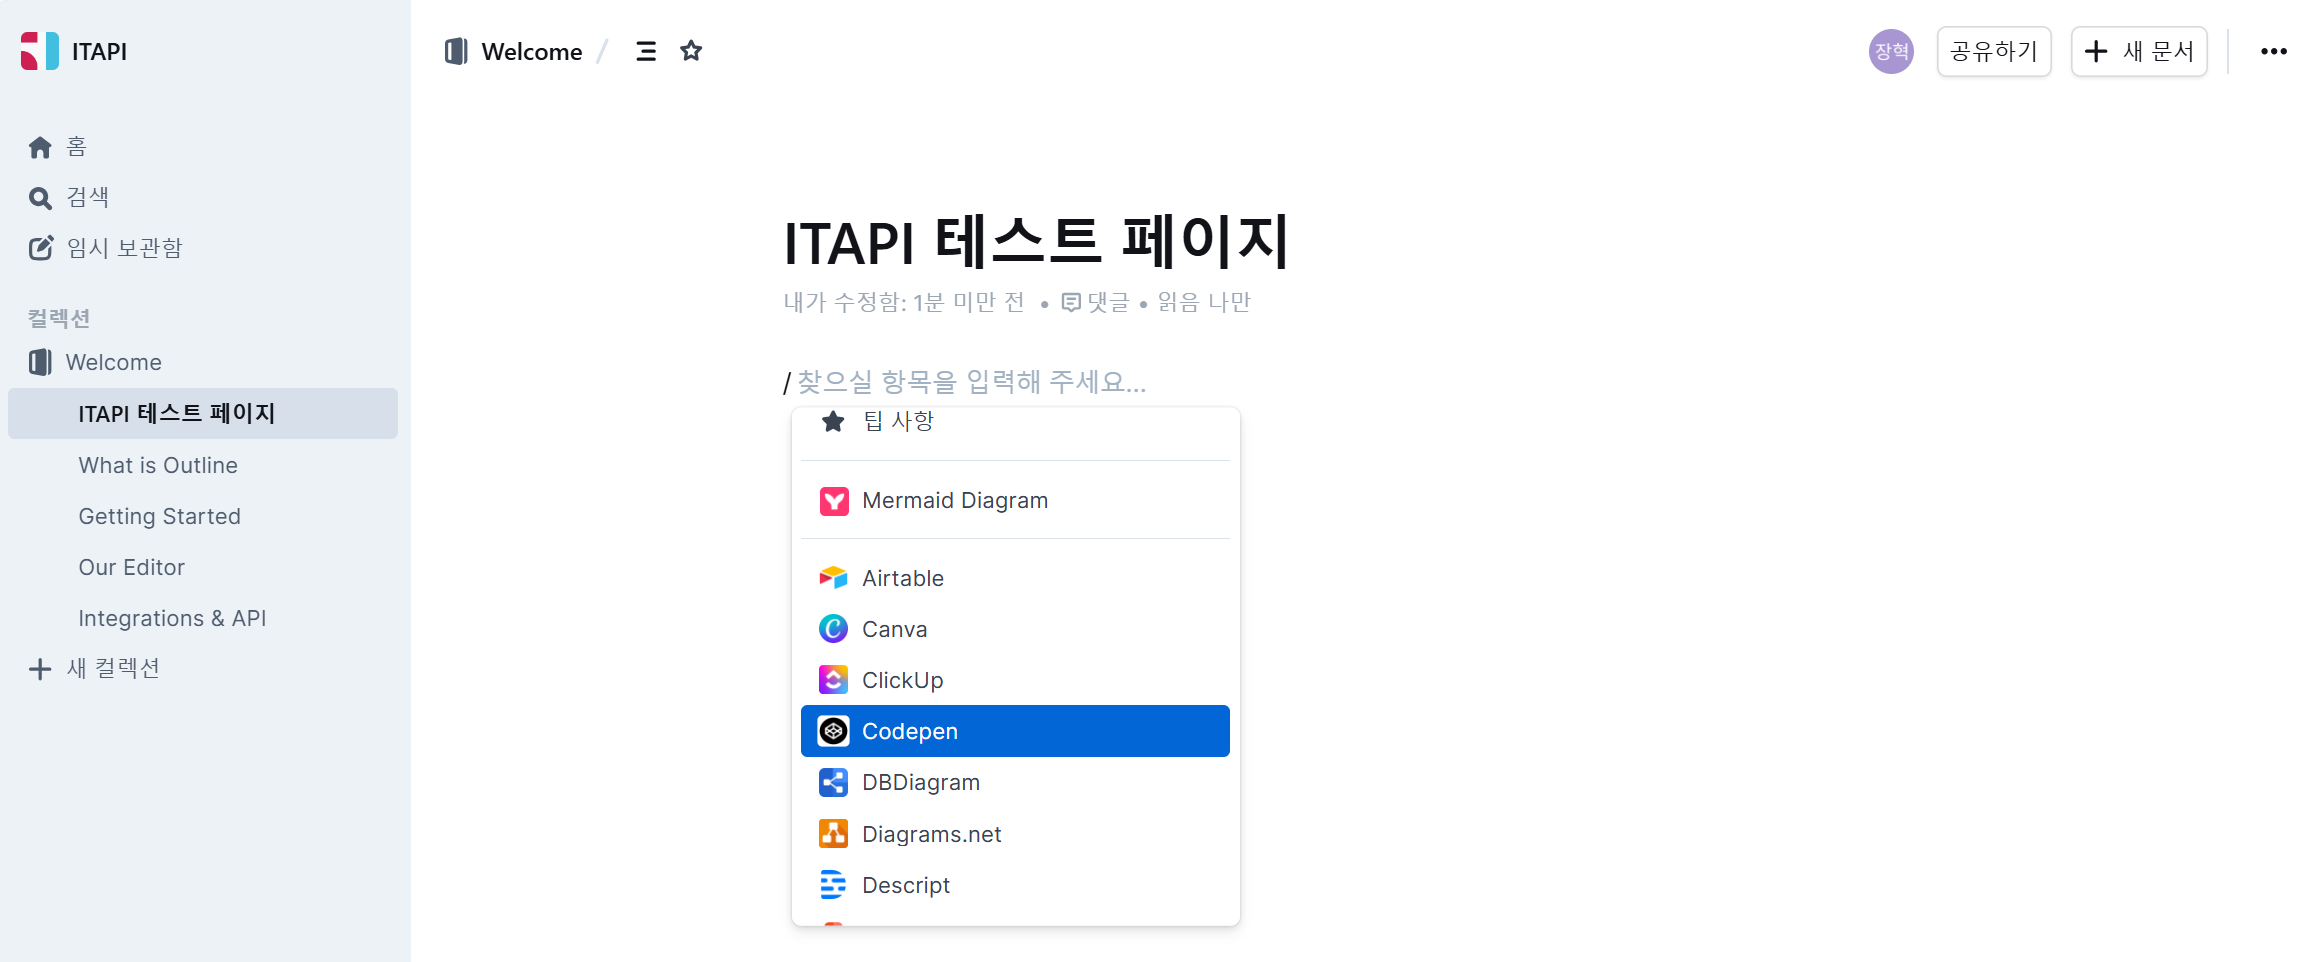
아주 깔끔한 UI 로 Notion 과 맞대응 할만 한 Outline
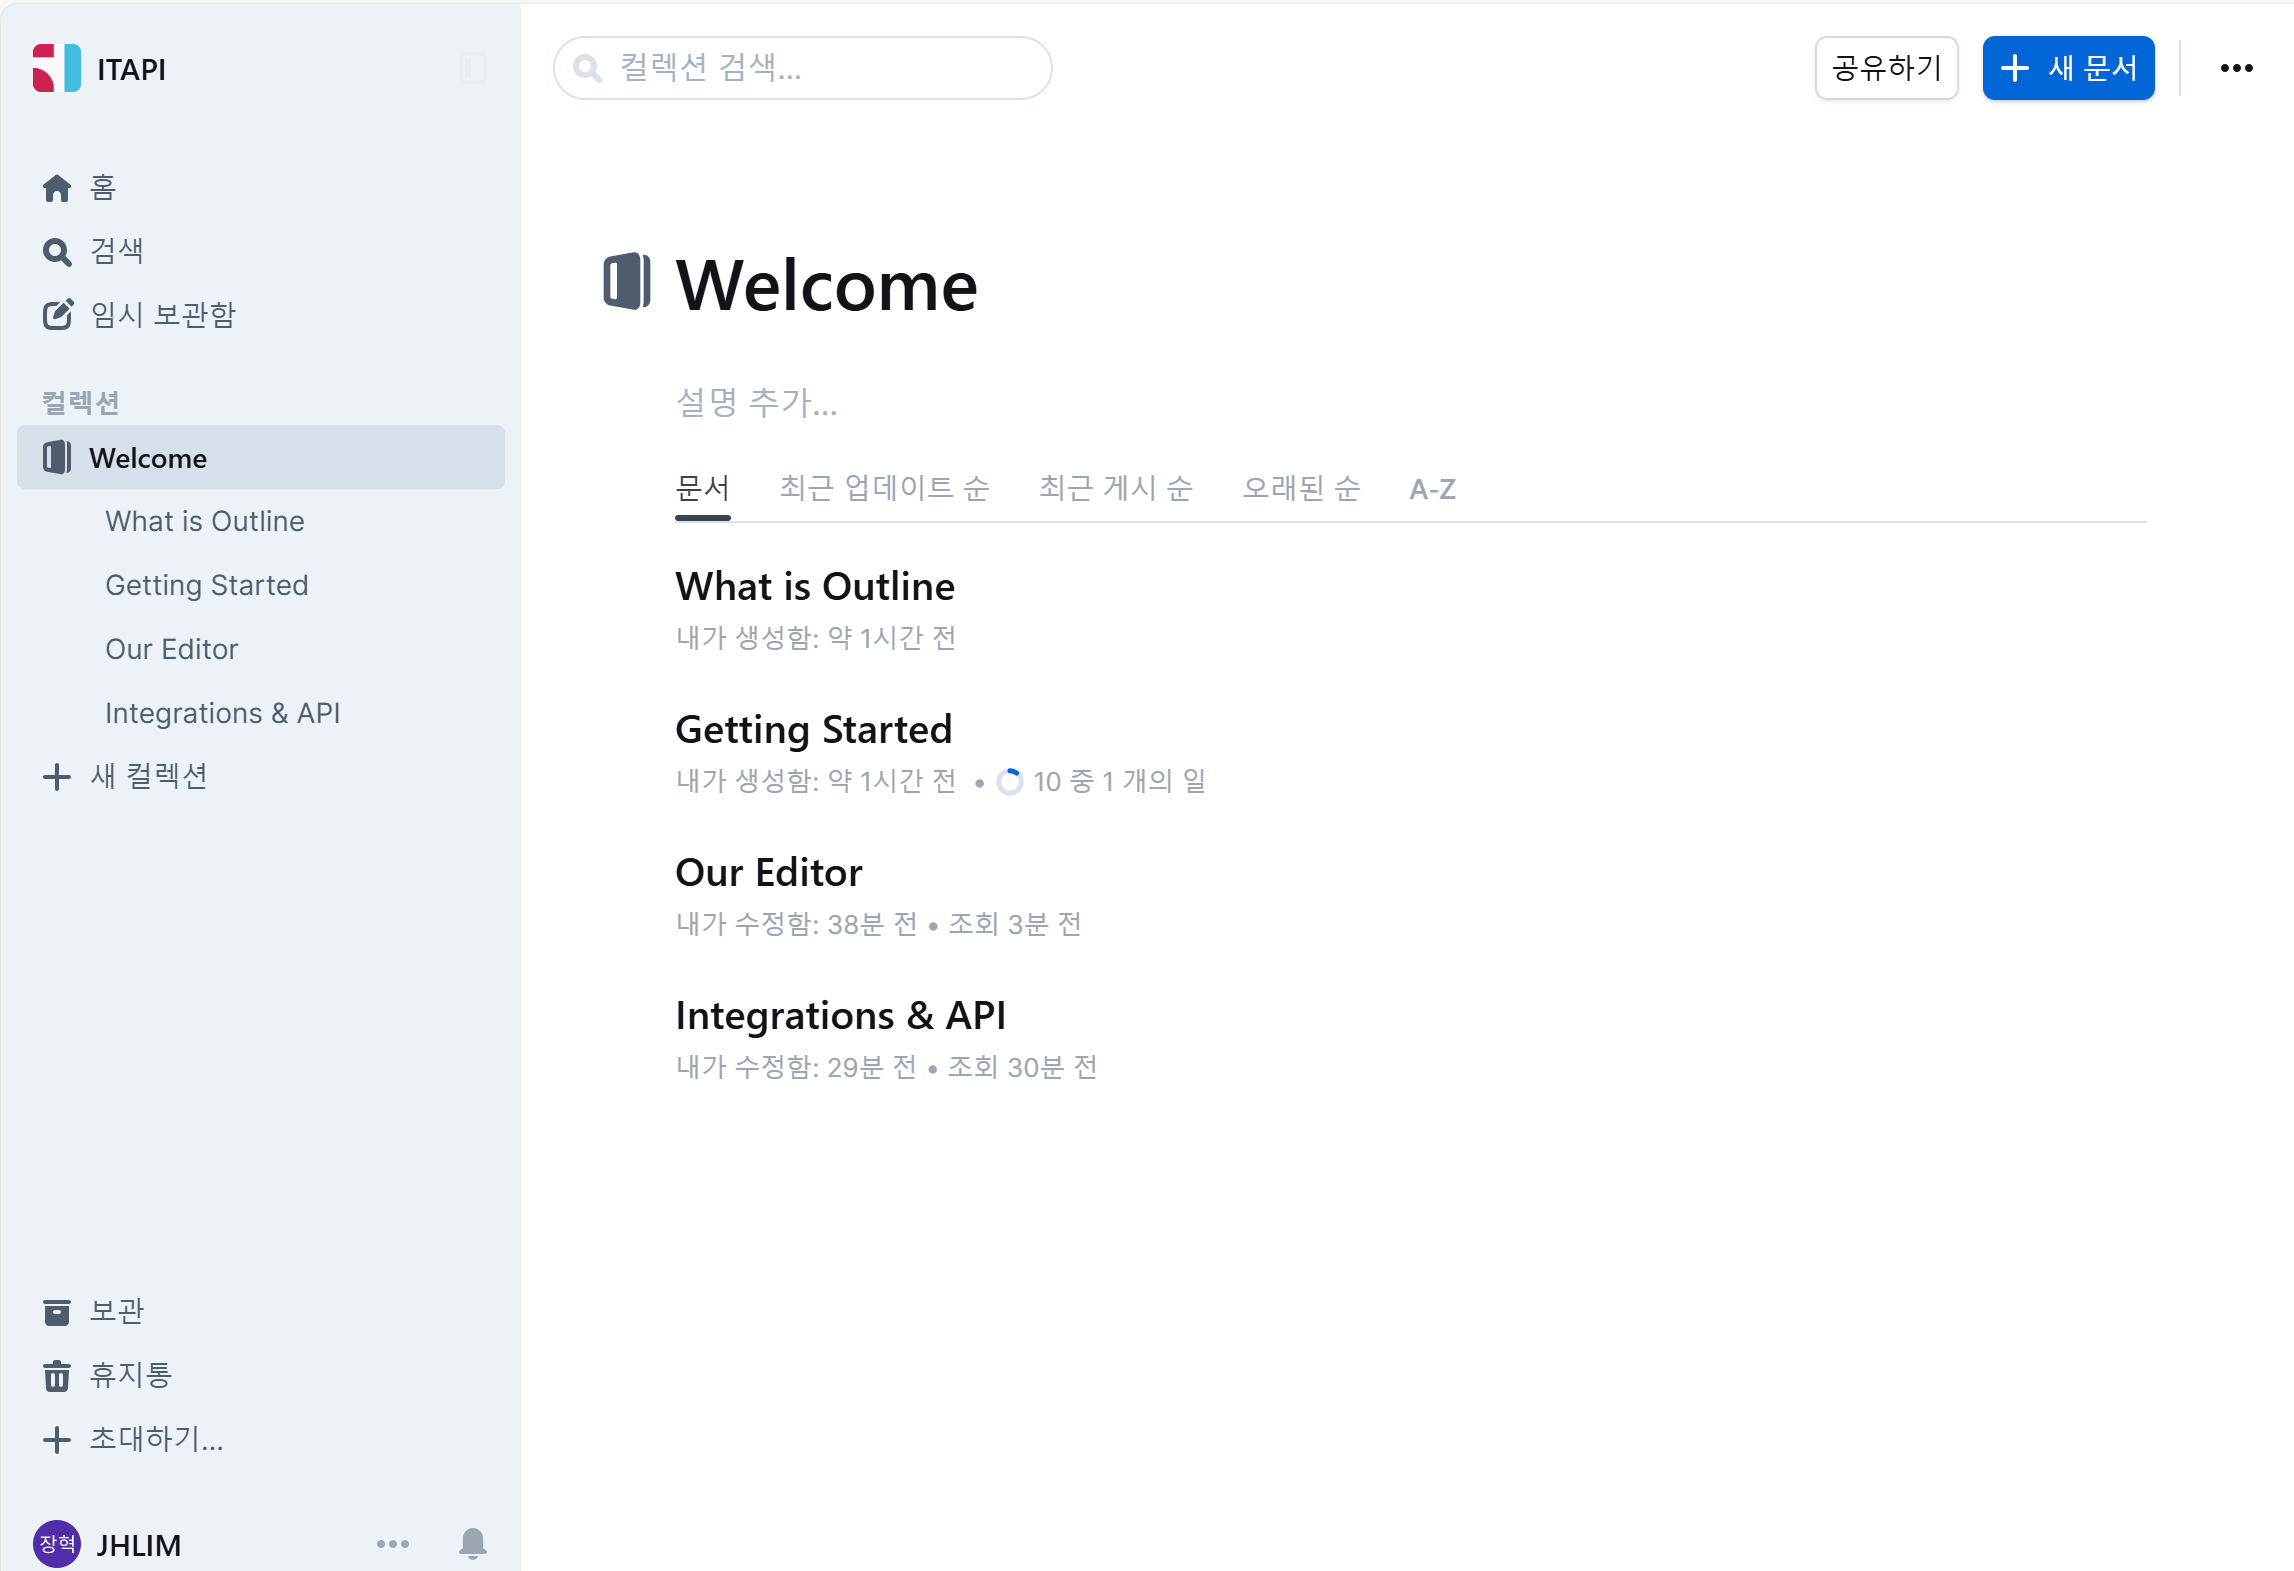
설정 메뉴

기본적인 기능 적재
다양한 앱과 연동 가능
docker-comopse 중지
docker-compose down
참고 사이트
How to Install Outline Wiki on Docker (bitdoze.com)
How to Install Outline Wiki on Docker
Learn how you can install Outline Wiki with docker compose to have a self hosted notion alternative.
www.bitdoze.com
Docker - Outline (getoutline.com)
Docker
docs.getoutline.com
'Docker' 카테고리의 다른 글
| [Docker] Pi.alert 로 WIFI/LAN 접속 감지기 (0) | 2024.09.13 |
|---|---|
| [Docker] DB 관리자 Web Tool의 최강자 - CloudBeaver (2) | 2024.09.04 |
| [Docker] docker image 최신화 및 컨테이너 재생성 (1) | 2024.08.09 |
| [Docker] fenrus (통합 대시보드) 구축하기 (1) | 2024.07.17 |
| [Docker] OwnCloud (Private Cloud Storage) 구축하기 (2) | 2024.07.15 |